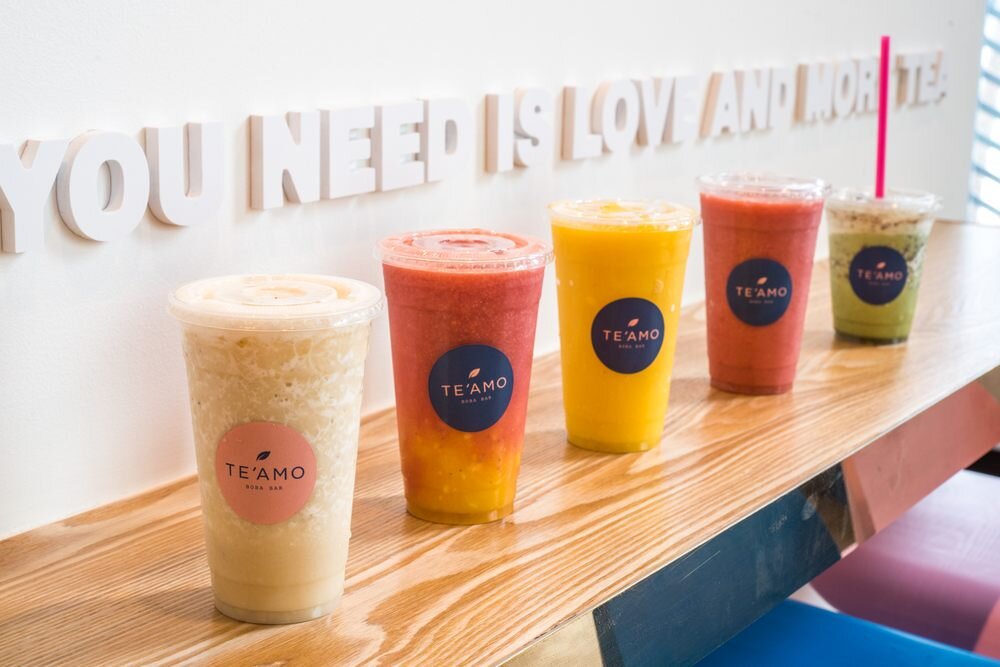
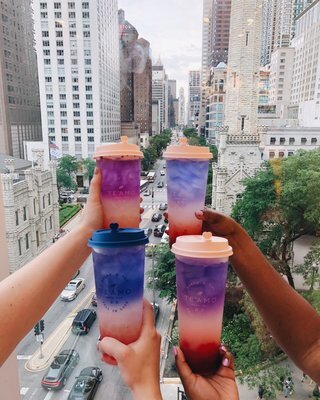
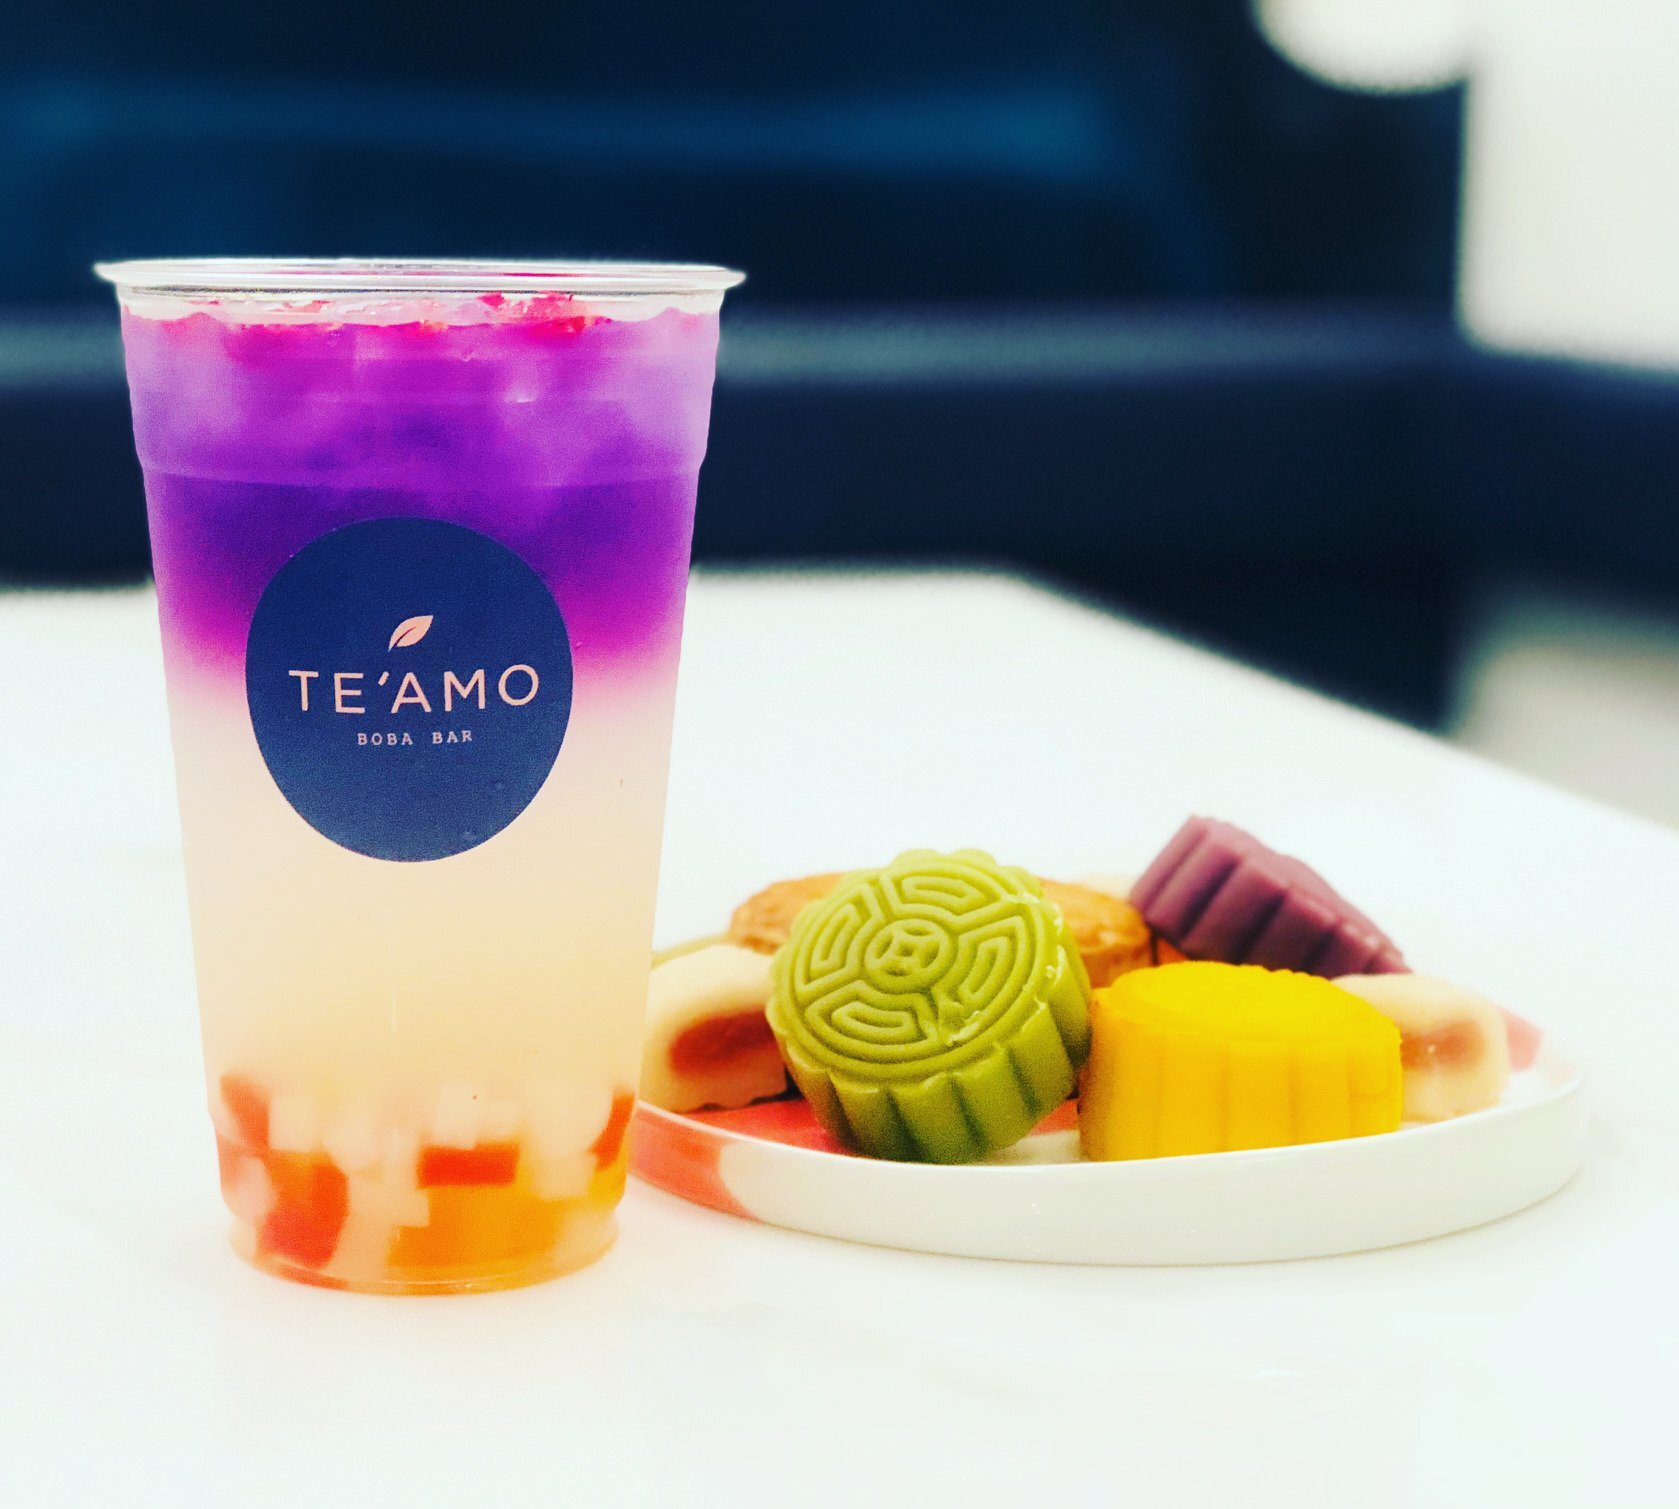
I’m usually a frequent visitor to Te’Amo. It’s one of my favorite study spots on campus—I’ve spent a great number of afternoons memorizing Russian verbs and finishing essays while happily drinking Mango Green Tea with Bubbles.
So it came as no surprise that I quickly began to crave bubble tea while quarantining in Columbus, OH. And while lucky Chicago residents can still order boba deliveries via Grubhub, I realized that I would have to make my own bubble tea in order to satisfy my cravings. As such, attached below is my easy recipe for making mango bubble tea from home!

The Recipe (Serves 3-4)
Ingredients and Supplies—all of which are available via Amazon delivery:
*2 Bags of Rishi Organic Jasmine Green Tea
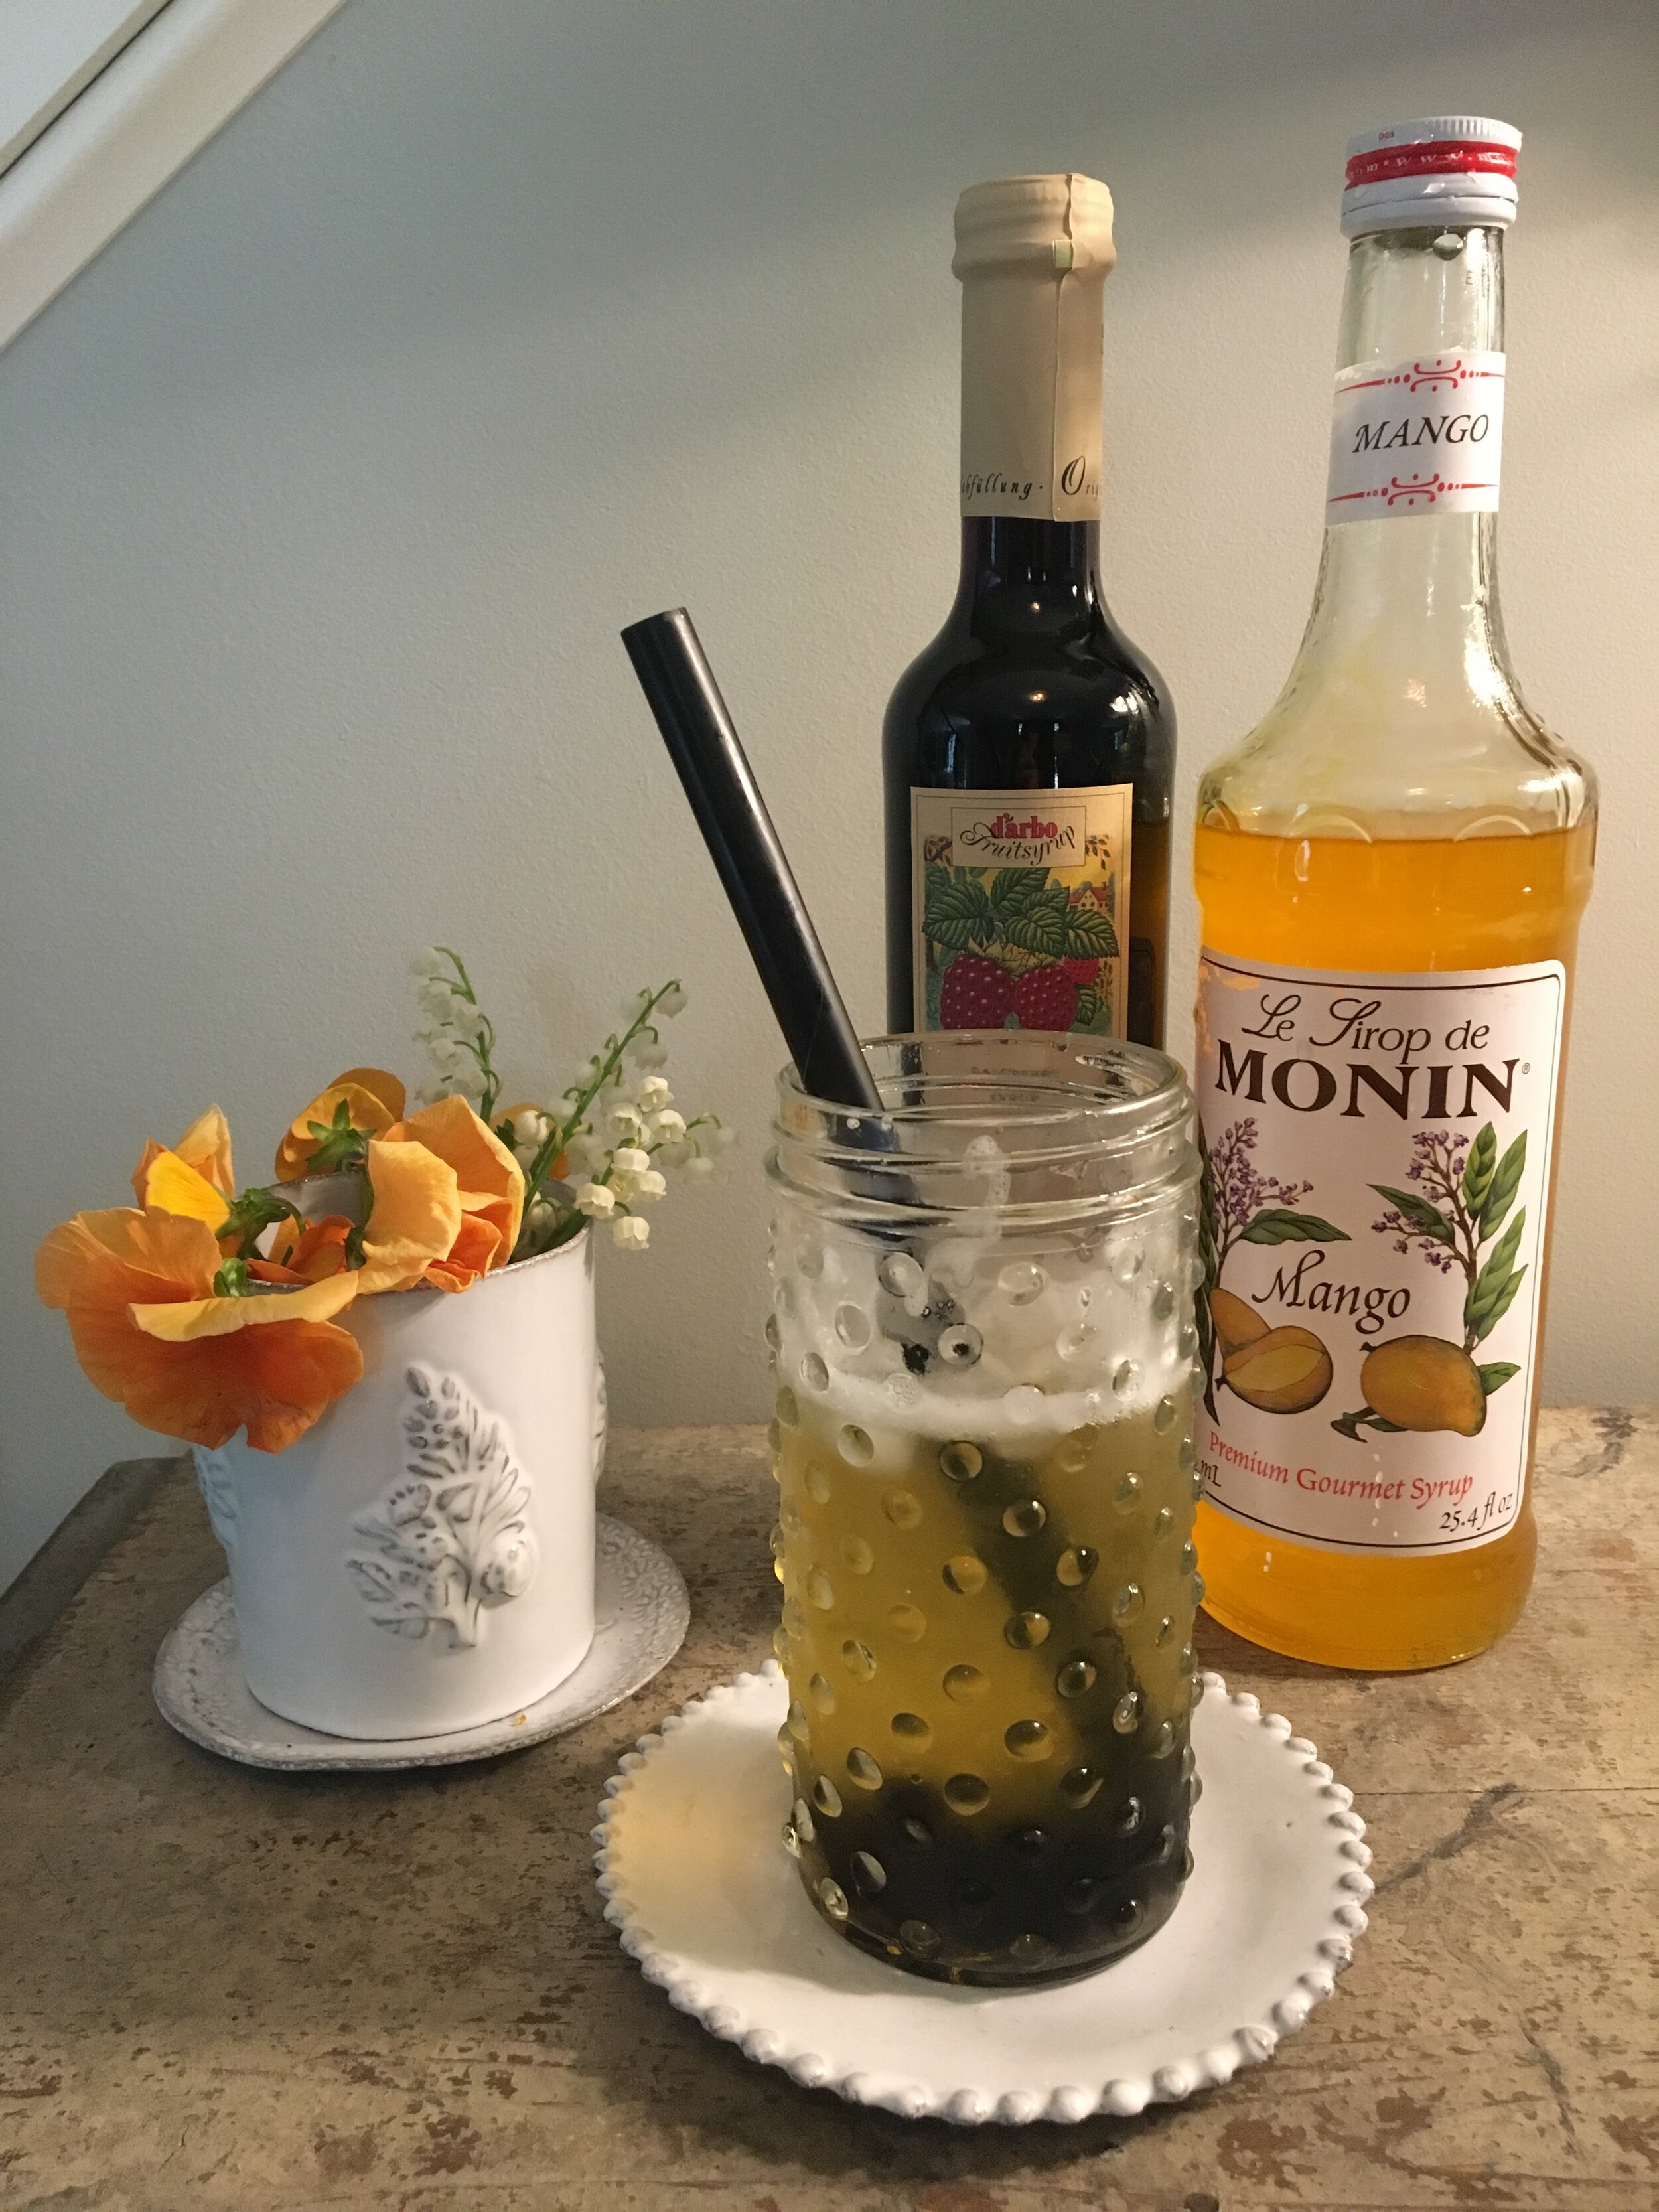
*Le Sirop de Monin Mango Syrup, added to taste
1 Cup WuFuYuan Tapioca Pearl (Black Sugar Flavor)
Cane Sugar, also added to taste
*Feel free to substitute different teas and fruit syrups. Also feel free to add milk to your bubble tea. Mango bubble tea has always just been my favorite, so I ordered mango syrup first. However, the Le Sirop de Monin brand alone sells numerous fruit syrups via Amazon - from raspberry, peach, and strawberry, to more exotic flavors like blood orange and desert pear.
#1) Brew the iced tea. Boil a 32 oz. pitcher of hot water, and add 2 bags of Rishi Jasmine Green Tea. Let steep for 3 minutes. Add about 2 Tb of sugar, to taste. Let the tea cool for a few minutes, and then place in the fridge.
#2) Make the tapioca pearls. Start by boiling 10 cups of water in a large pot. Once the water comes to a boil, slowly add 1 cup of tapioca pearls and stir. Once the bubbles start floating to the surface, cover the pot and cook the bubbles for 2-3 minutes on medium heat. Next, turn off the stove and let the bubbles simmer for an additional 2-3 minutes (allowing the bubbles to soften, to preference).
Let the tapioca pearls cool. Remove the bubbles from the pot, and let them sit in cool water for about 20 seconds. Then place the bubbles in a dry bowl and add sugar.
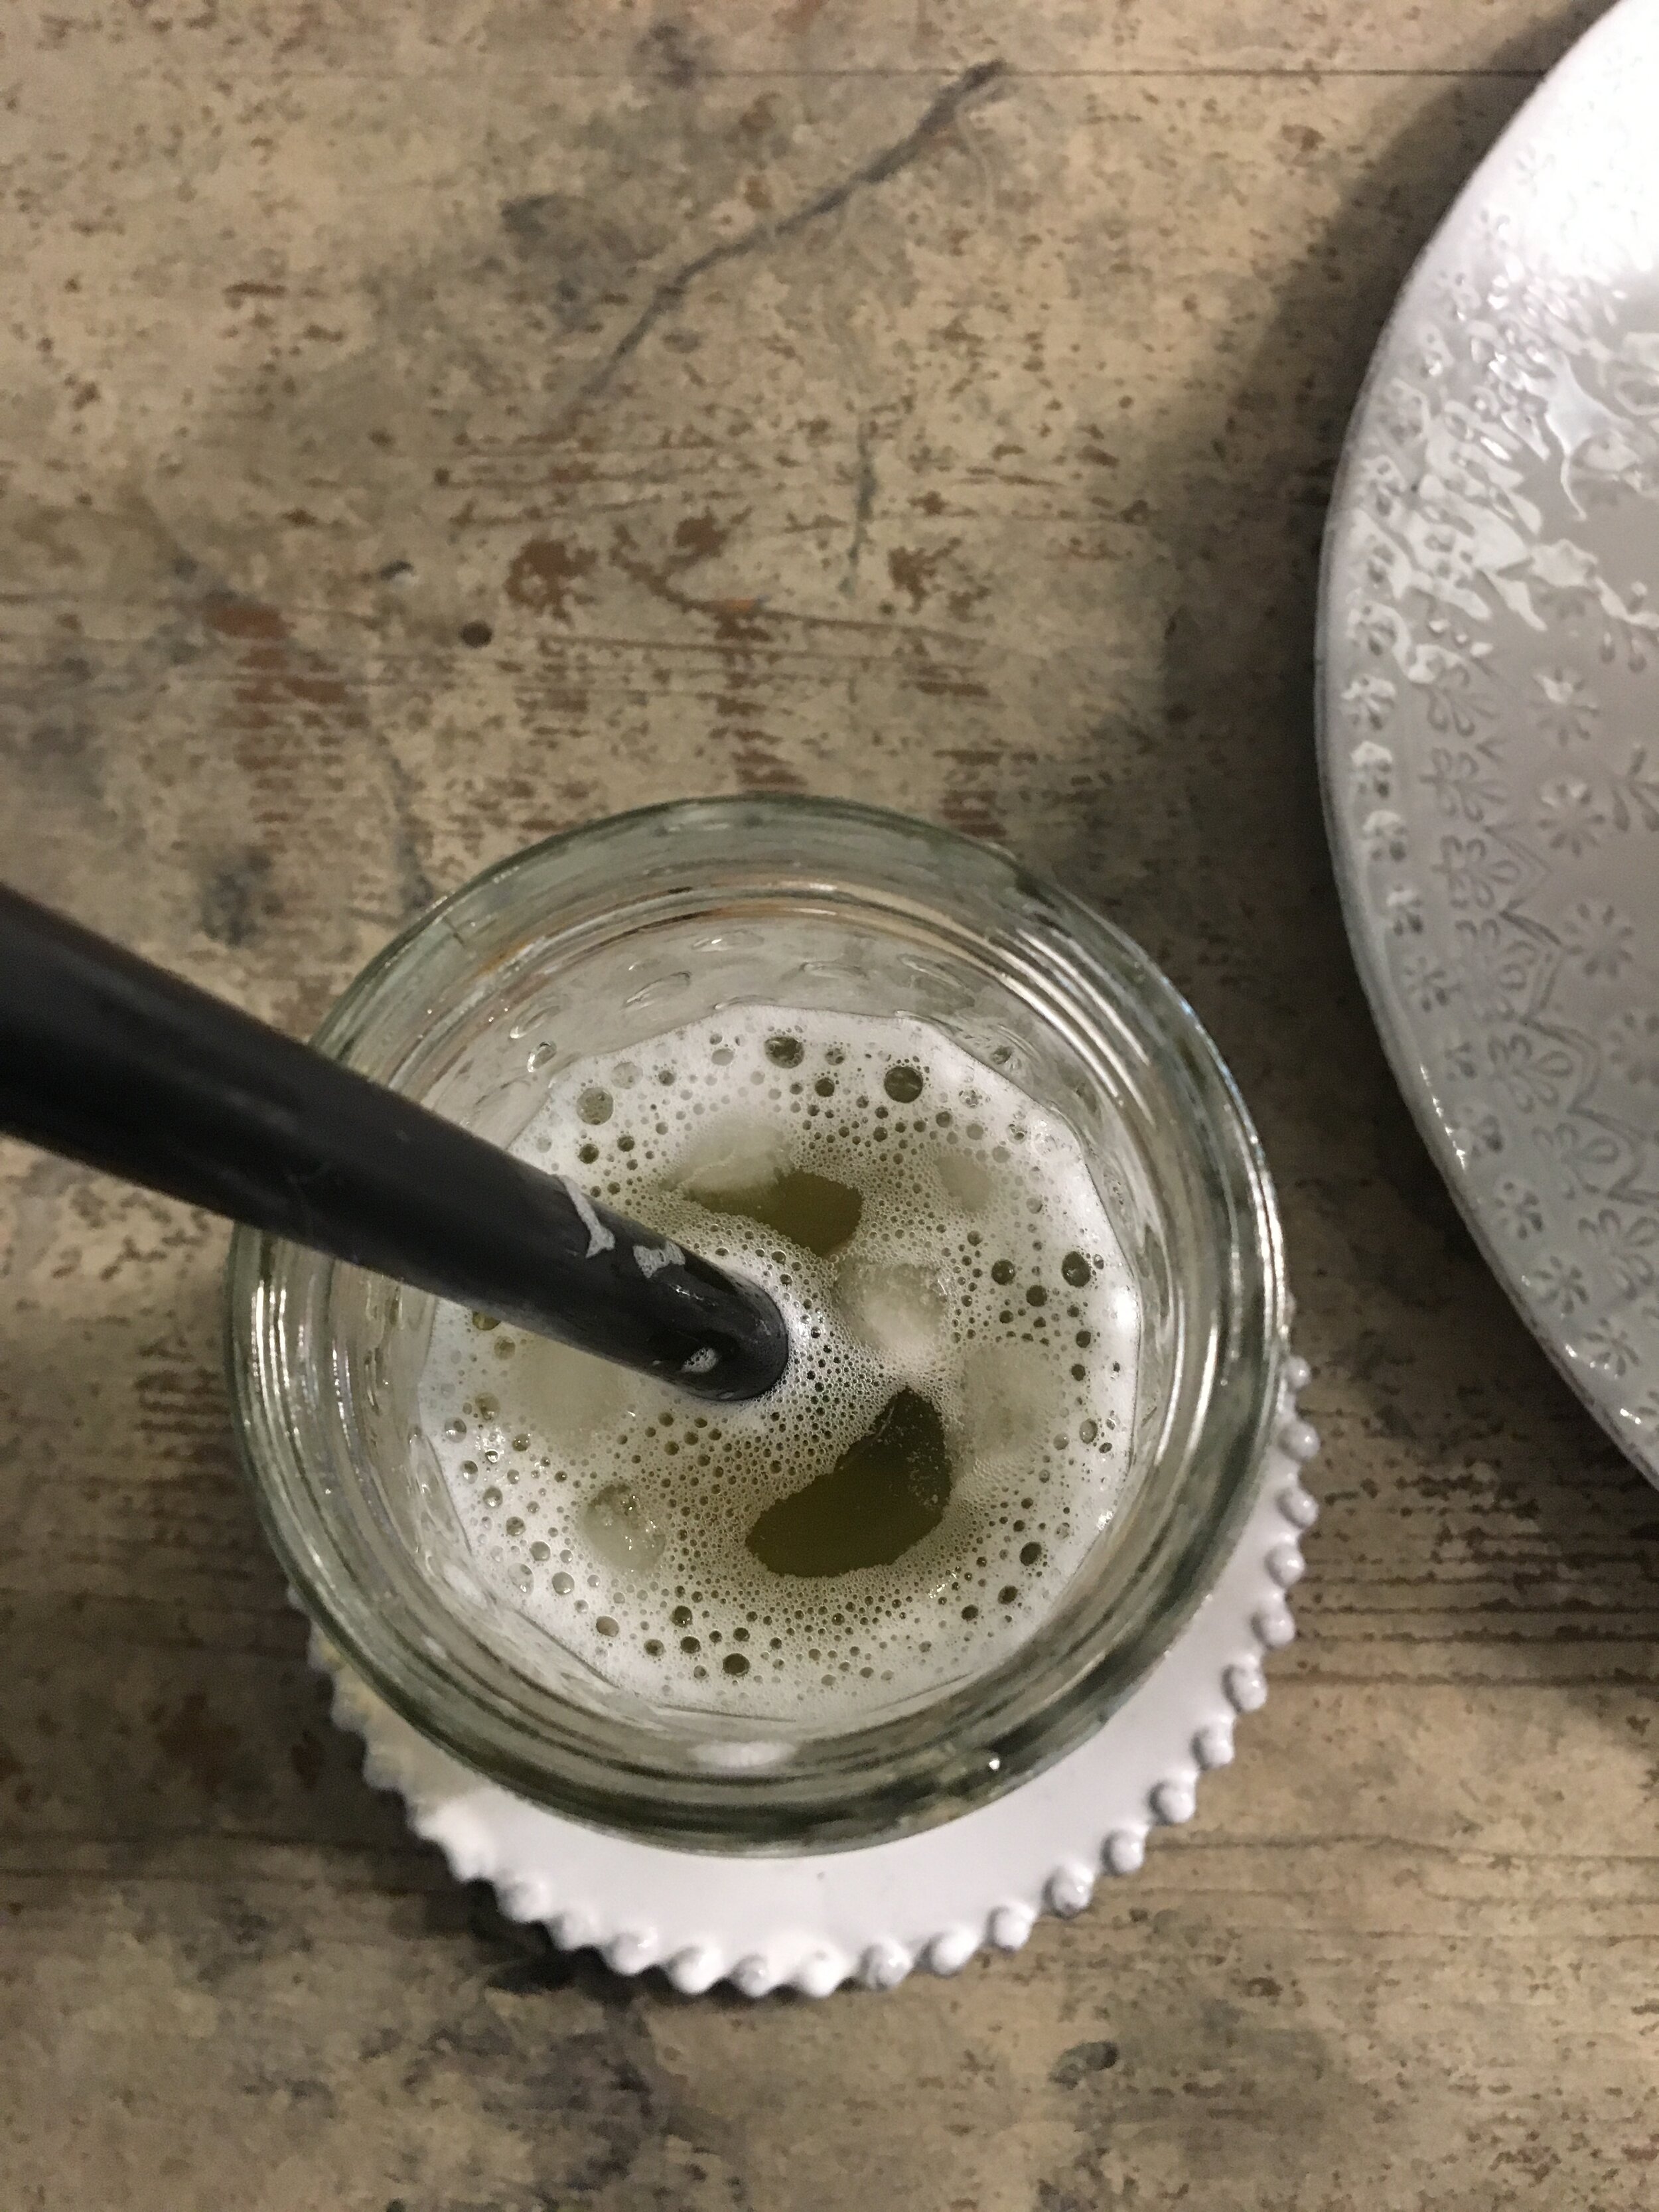
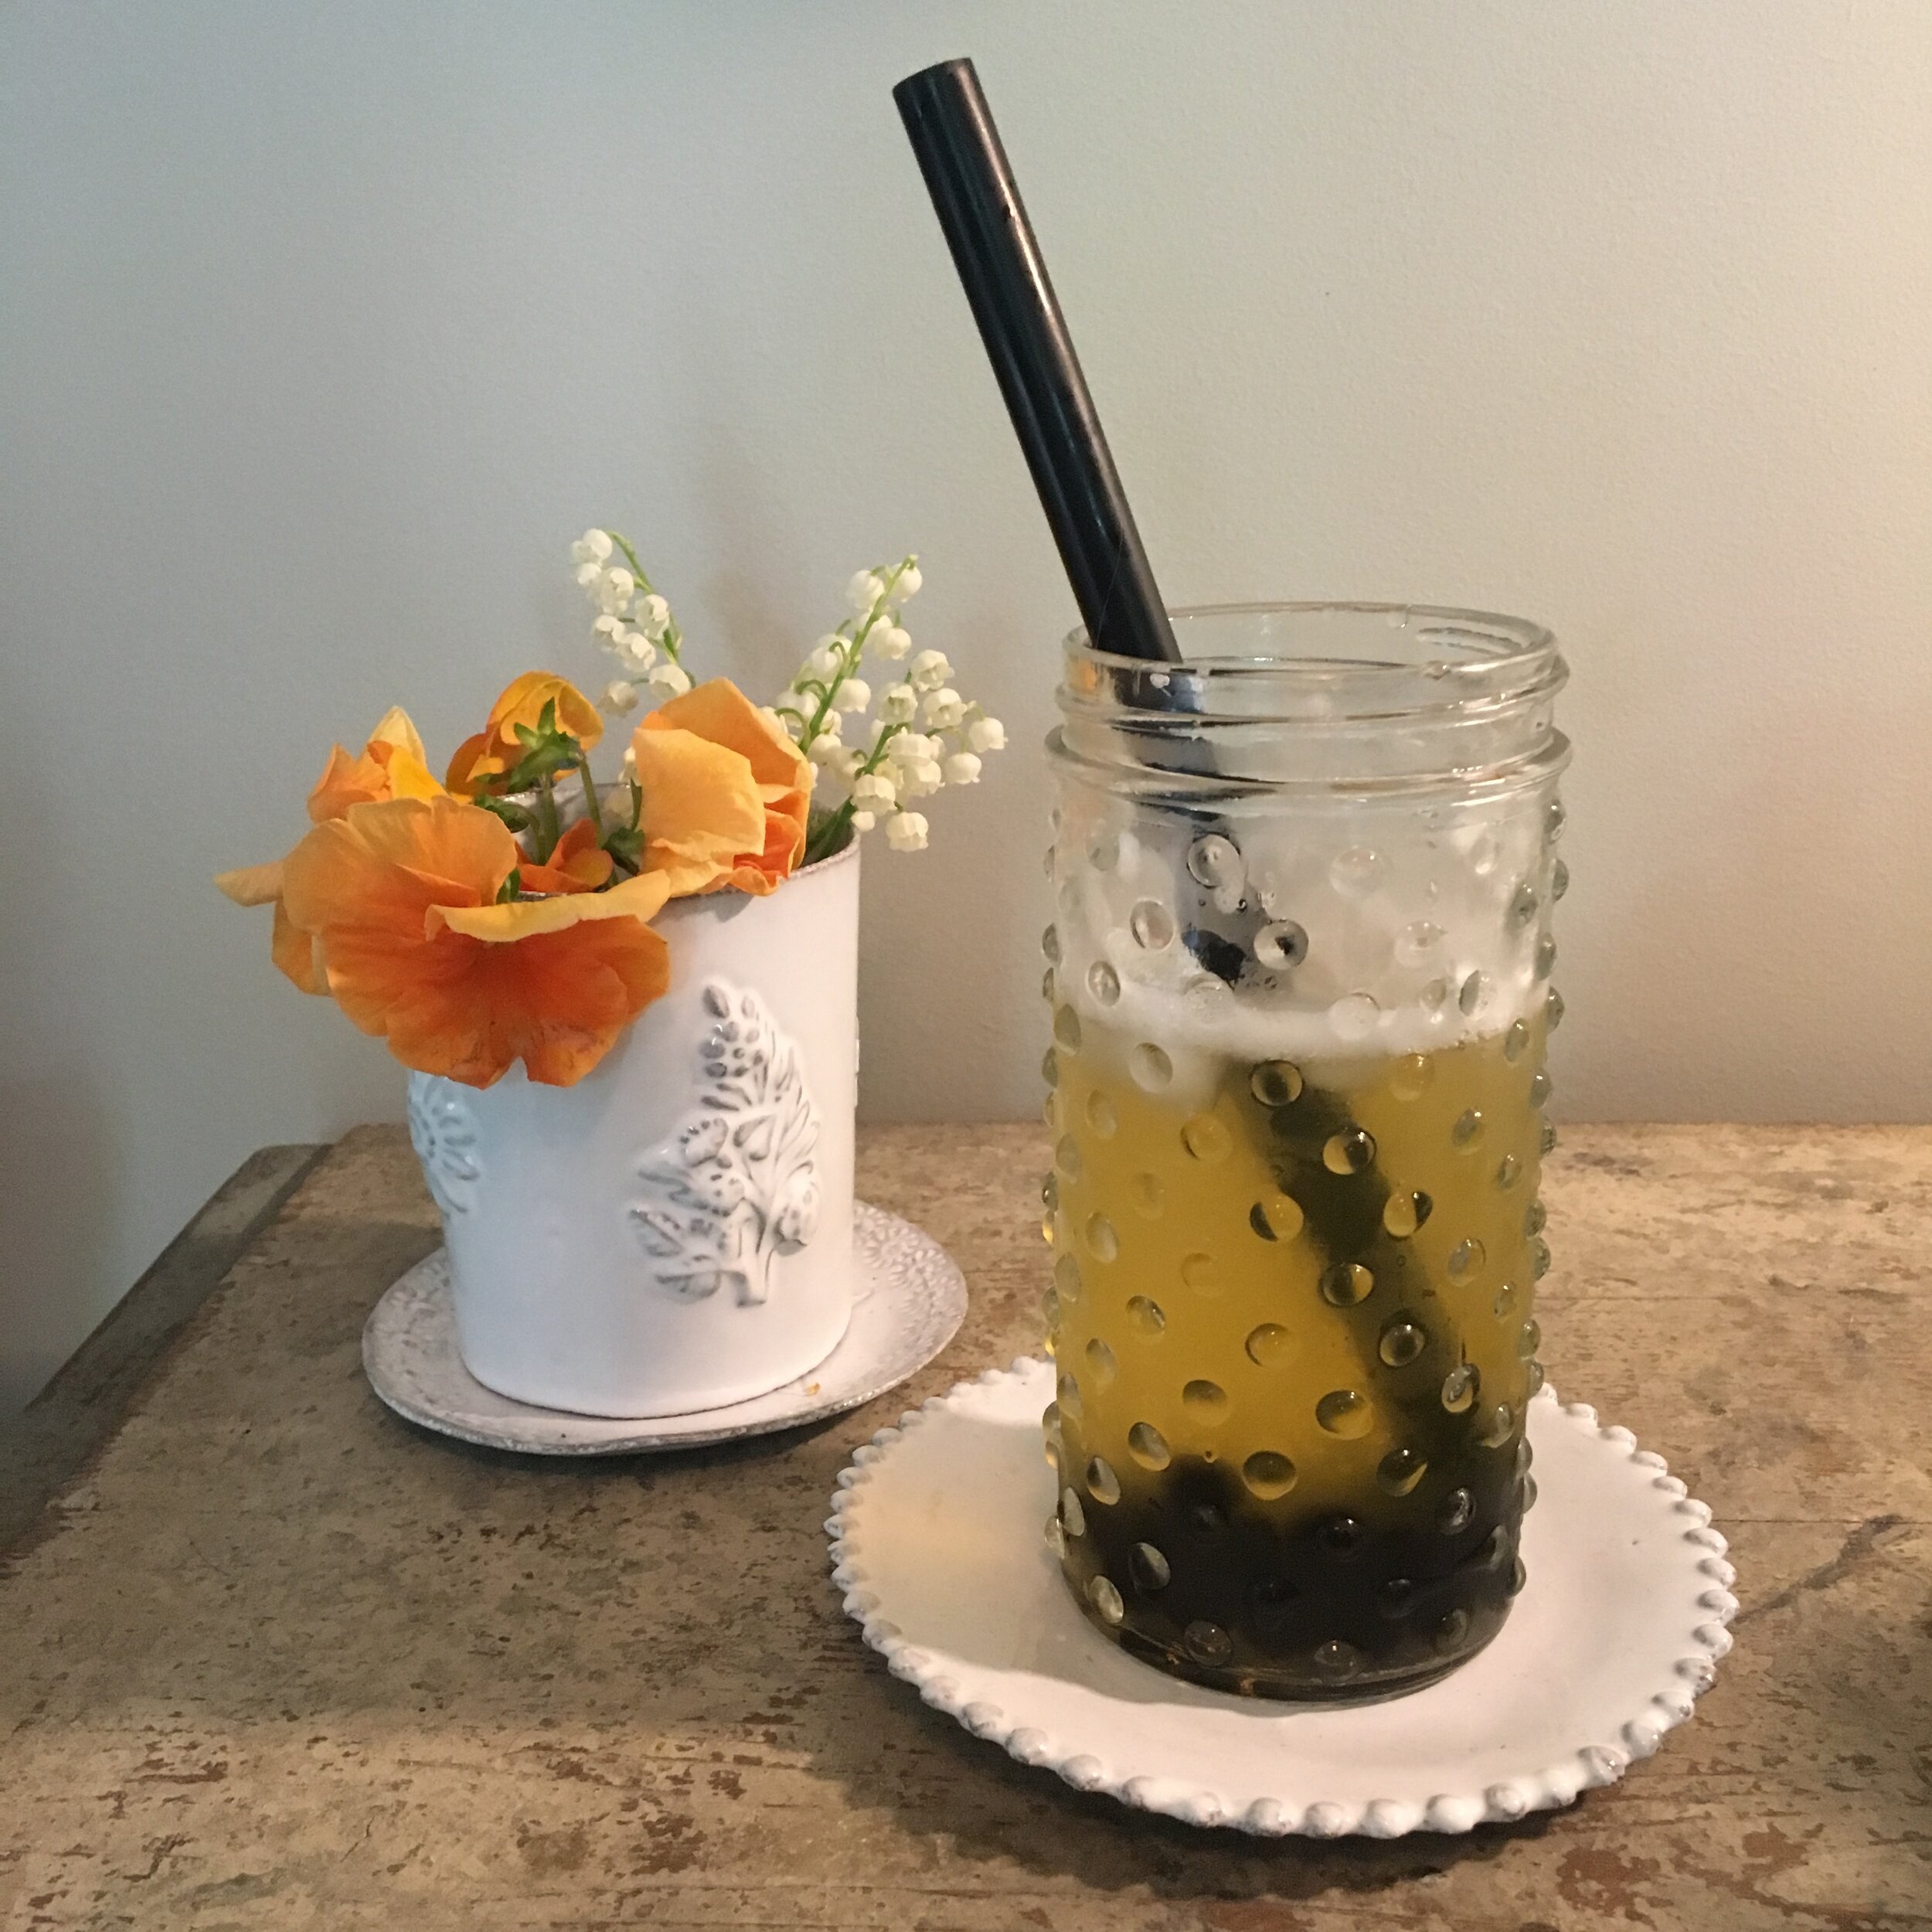
#3) Mix the iced tea, bubbles, and mango syrup to taste. Enjoy!
Click here for thumbnail image source.