Hello from the “I’m the worst blogger on this team and haven’t wrote anything in months abyss!” For most of the spring and summer, I’ve been spending my days away from the computer and driving thousands of kilometers throughout middle Europe (I’m not joking odometer count is up to 15560 km) and have been proliferating Instagram with digital collage doodle things (a more official name is unbeknownst to me). I’ve decided to round up some of my favorite apps and tips and tricks and all that glorious jazz so you too can waste hours fidgeting with shapes and layers to perfect your Insta feed (ya know, if you’d like to).
The Filtery Basics
VSCO


Shameless confession: I have indeed paid $20 for the all inclusive filters and haven’t looked back. My office has an espresso machine so I’m justifying my app purchases from the increase in latte funds (read: I can’t manage money for the life of me and henceforth do not study Econ or anything related). If you don’t know what VSCO is yet, please DM me the coordinates for the rock you live under. My favorite filters include: AU5, A8, C1, G4, FP2, KP8, and KE1 (sounds like some strange code, but if you know, you know). Play around with the contrast, white balance, exposure and the like to hone and tune your aesthetic vision.
HUJI

Less used by me for collaging, but also a good one for minimal effort. The app version of a film camera adds sporadic light leaks and the little date in orange à la old school Kodak film. A handy free app for the quick filter-y edit!
The Collage Essentials


OVER
Over is my absolute favorite app (minus the fact that it is not entirely free #sadbankaccountclub) for collaging. It is very simple to use, operates in layers similar to Photoshop, and has an extensive collection of doodles, patterns, etc. (my favorite is called "Artistic Toolkit by Julia Dreams" which is full of paint strokes and doodles!). The one advantage Over has over (lol) Bazaart is the ability to use your finger to paint/draw a mask on layers, which is really useful if you need to do a detailed crop job or something similar.


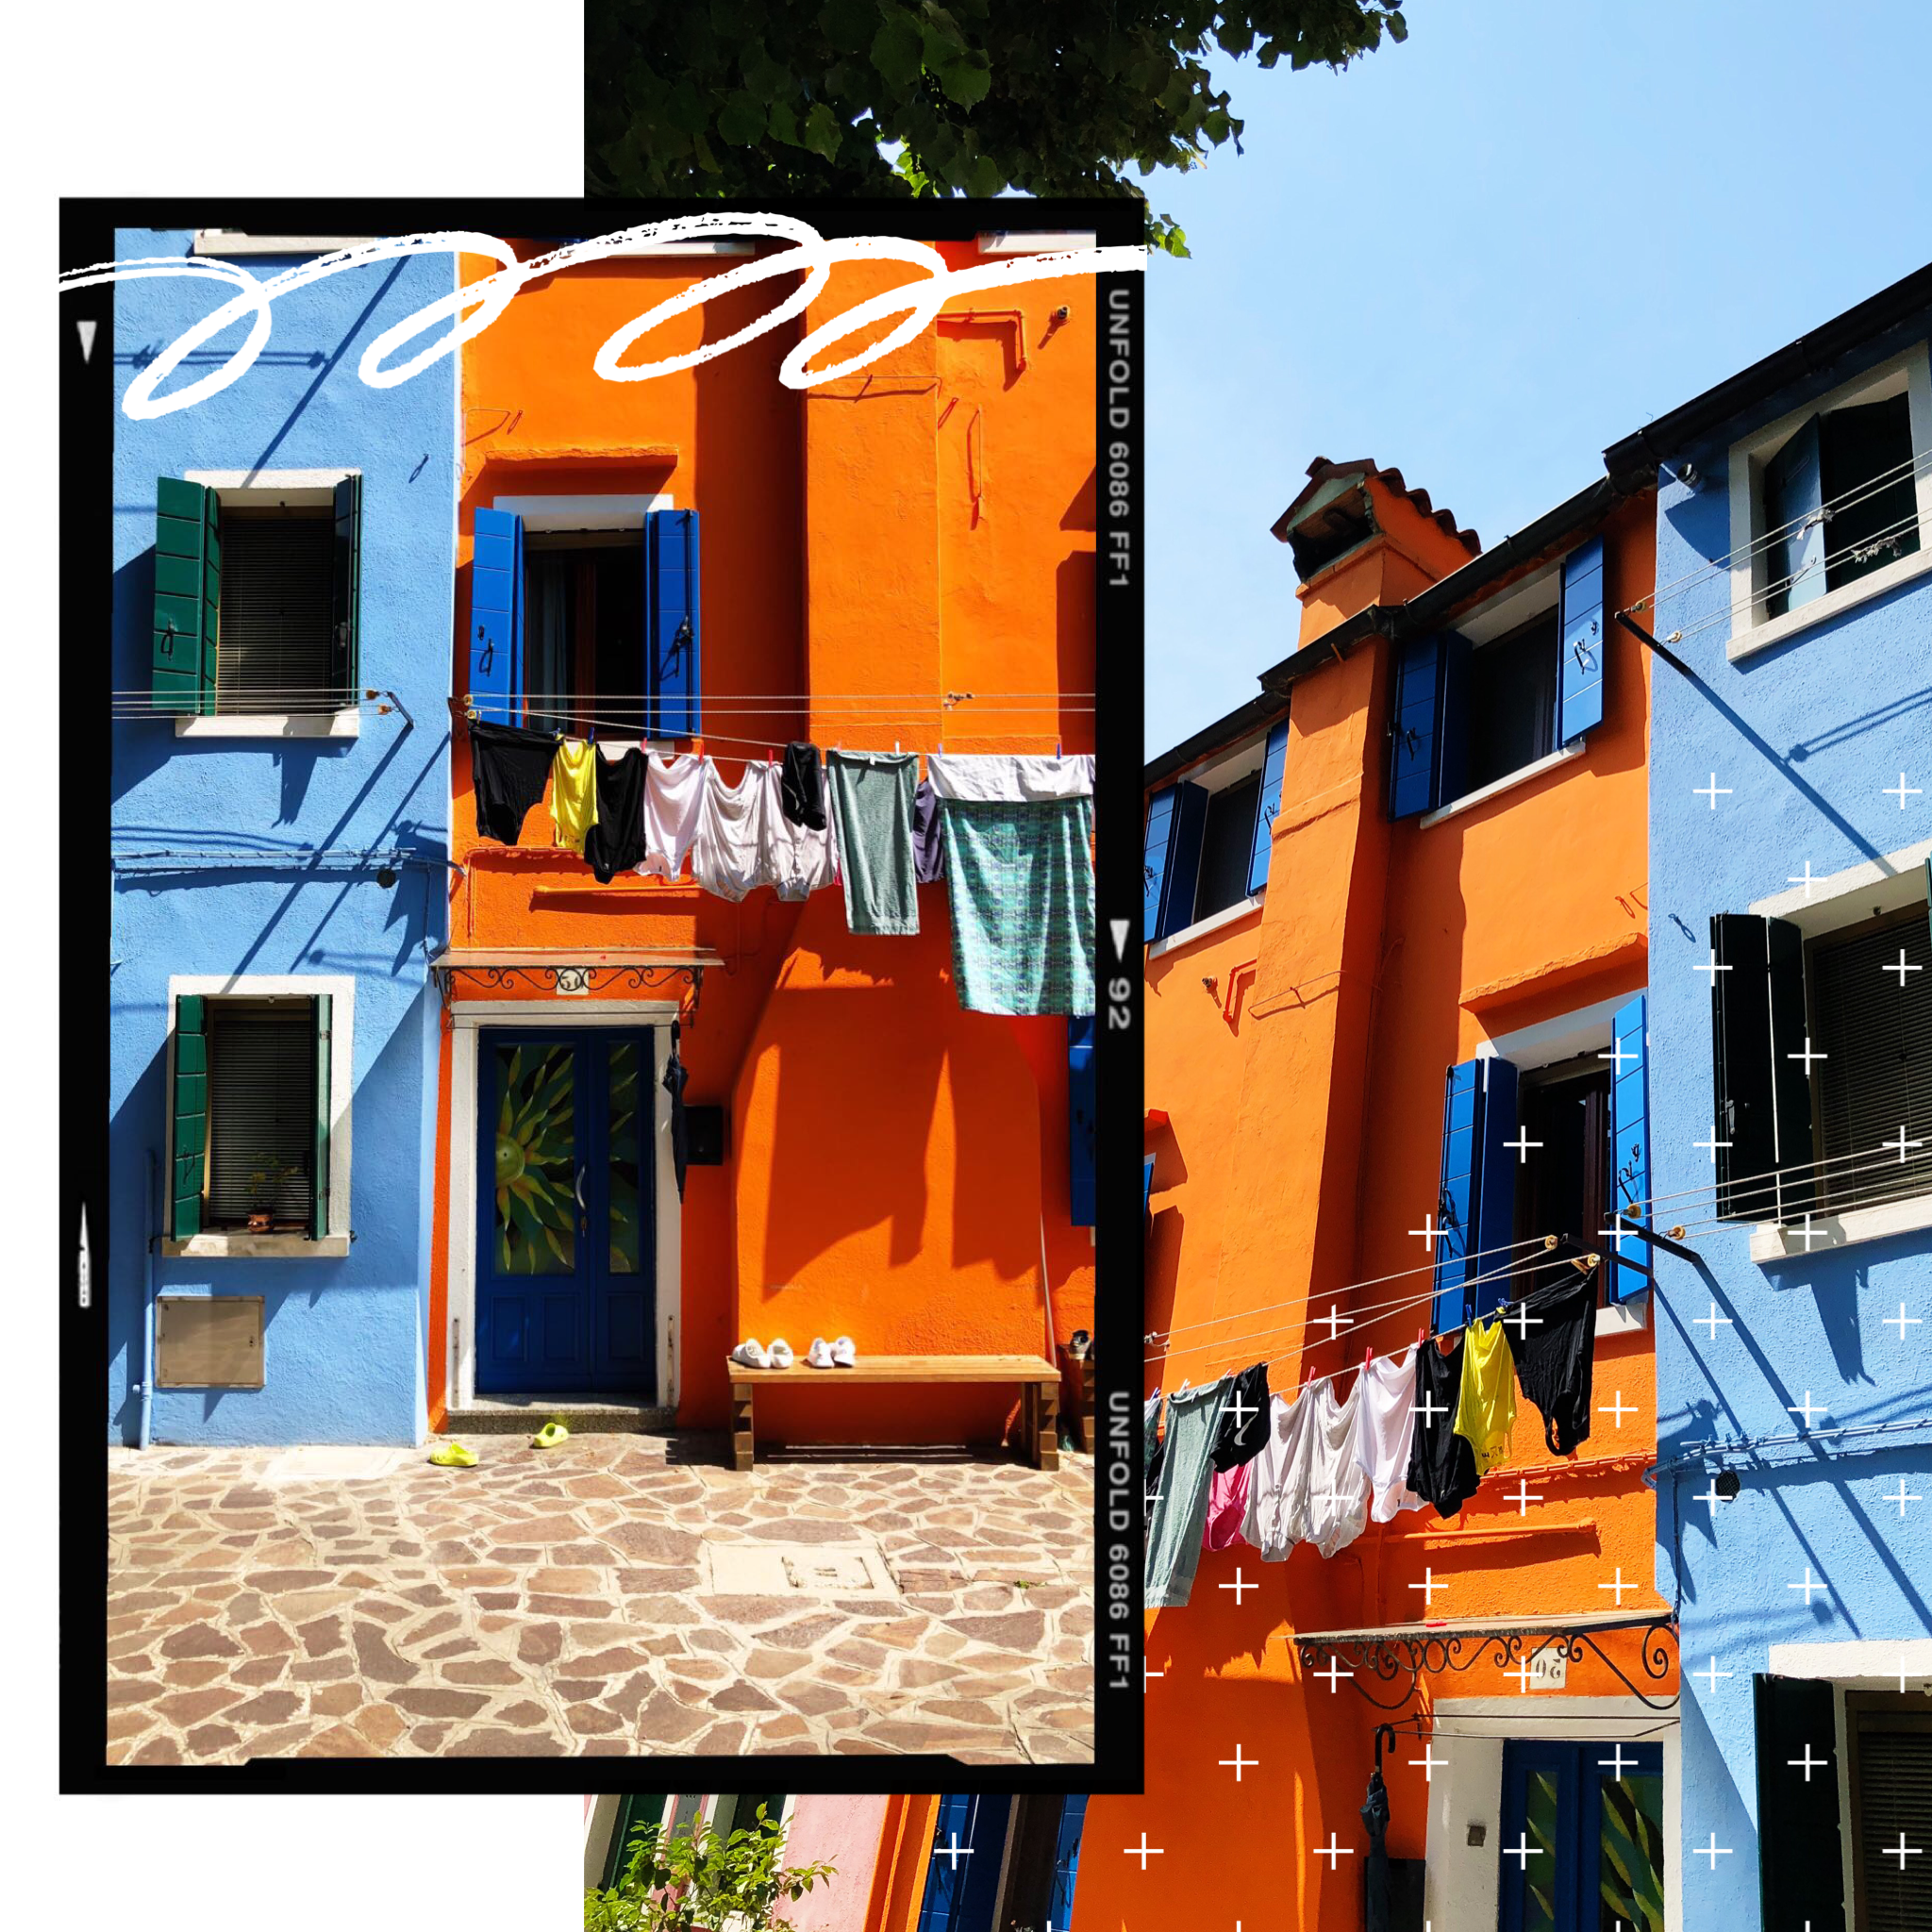
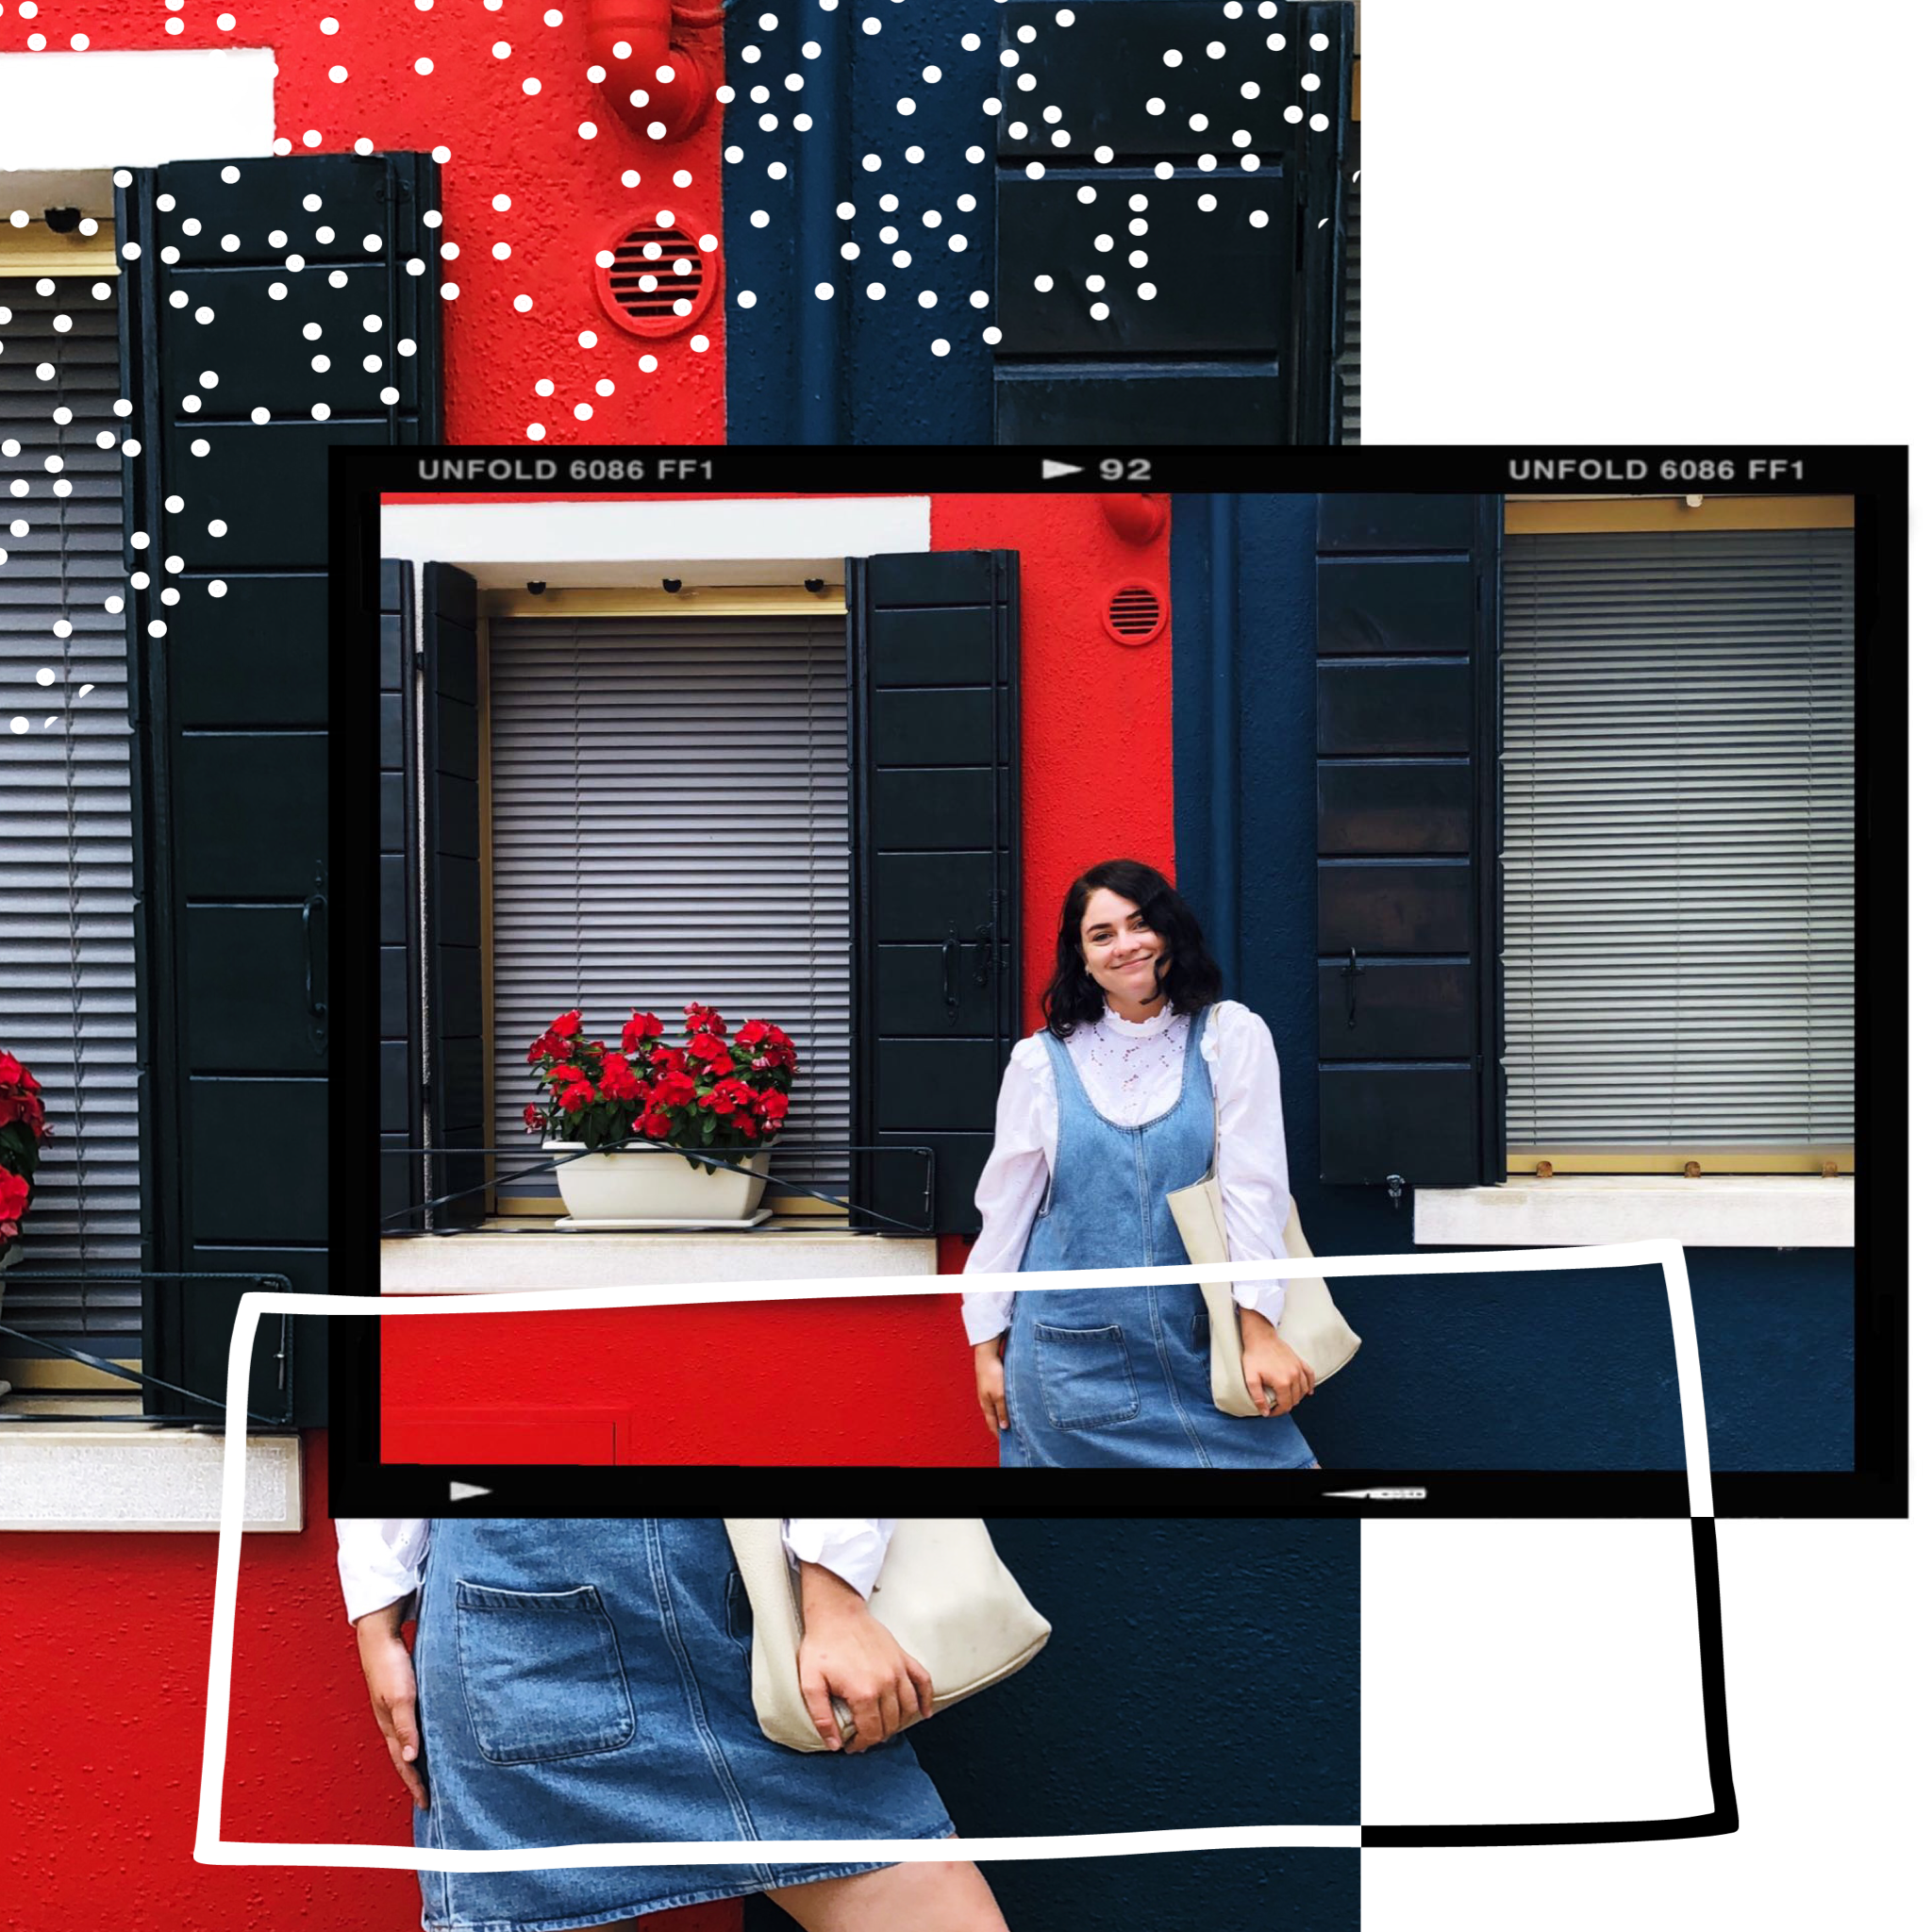
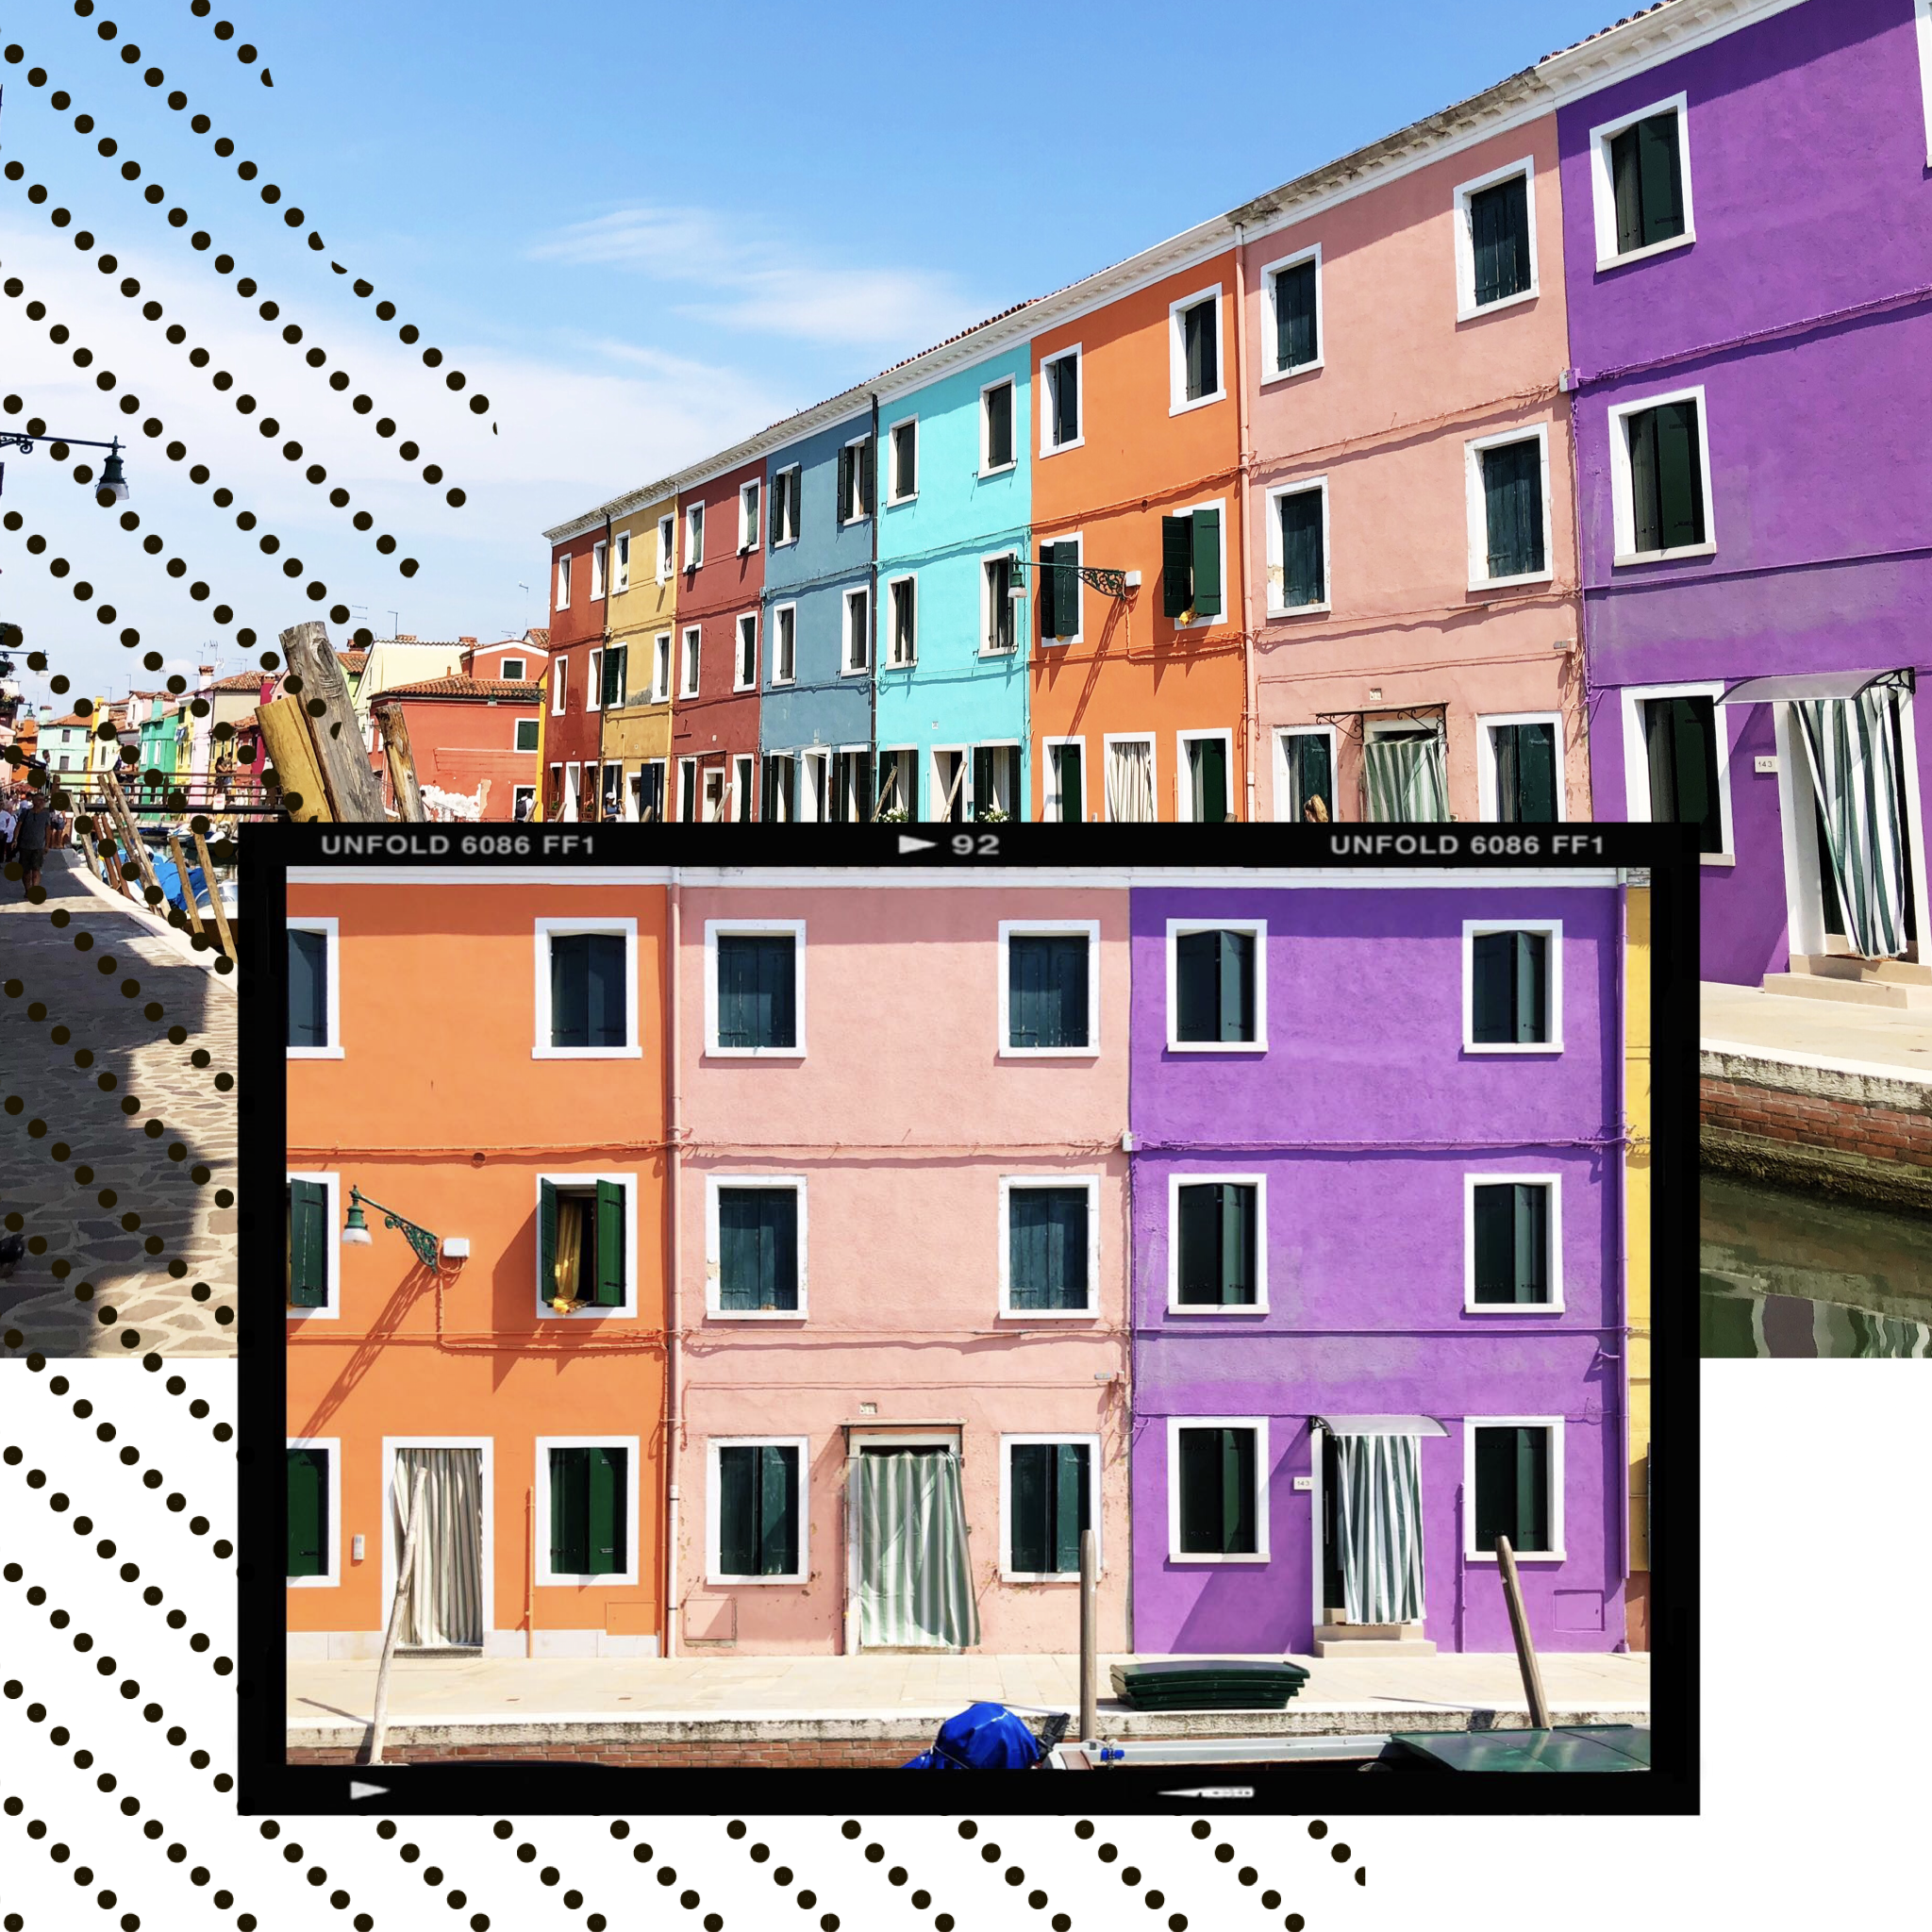
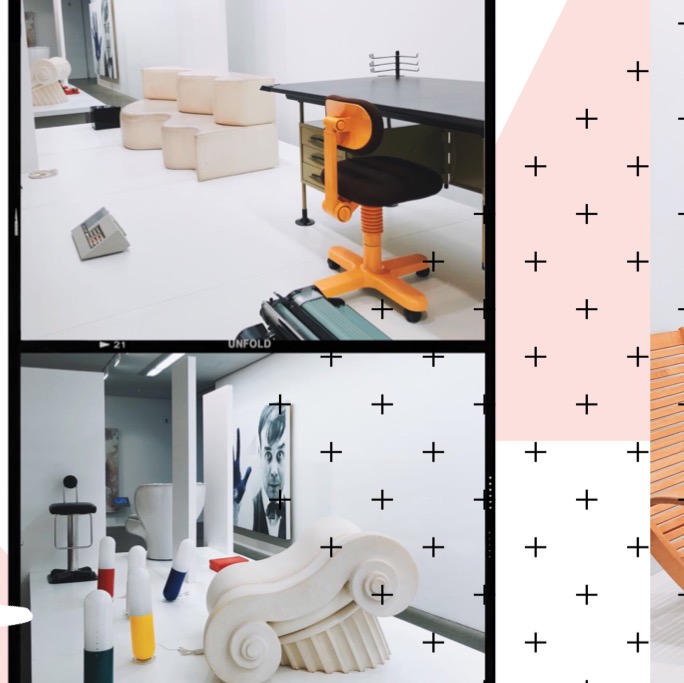
UNFOLD
Marketed for Insta Stories (and very good for that, tried and tested with my newfound arsenal of collaged travel memories under saved Stories), Unfold's FF1 pack has film border frames that I like to incorporate into a little digital collage thing. I really enjoy adding these lil guys on top of a picture to add some Huji-but-not-actually-Huji-film-esque-vibes to a collage.
BAZAART
Another good layer-based app that I used a lot prior to discovering Over (the main trade off is the lack of doodles, but you can also get techy and save and import any doodles from your photos too). Bazaart is also from the same parent company as the pixel speech bubble app I raved about many months ago, so you can also add some of the present words/phrases in here too!
IN SHOT
A good app if you're vying for the "picture in picture over a blurred background" sort of vibe. It is admittedly a bit harder to get the whole collage layer look in this app though, but there are some stickers and text features you can tack on for a fun effect.

A DESIGN KIT
I like this app to actually doodle by hand on top of pictures. It has the best brush pack and ease of use combo I have found, which makes it worth the $3 fee, in my opinion. Semi-involved-tip: you can also doodle on top in the Instagram Story section from an uploaded picture, but I find the brush doesn't get thin enough for my taste, but a free work-around if you're interested! Semi-even-more-involved-tip: you can also doodle on a white background in Instagram Stories and then save this as a picture to overlay with blending mode manipulation in a layer-based app - takes some time and fidgeting but it does work!
Some General Tips & Tricks
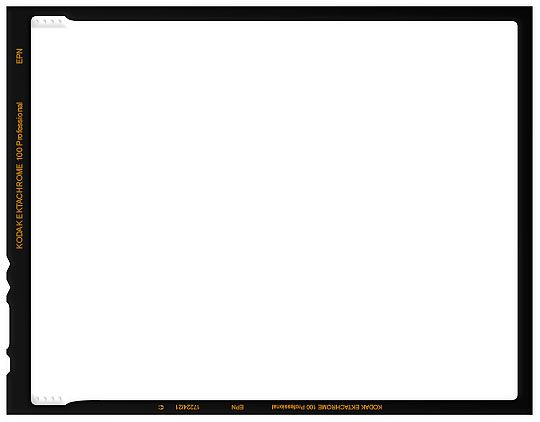
FAKE FILM FRAMES / BORDERS
If you're not feeling the Unfold route, you can also just save the film frame image from the internet and operate with it as a layer. The "darken" blending mode will do the trick to get rid of the white center. I also will opt for a basic rectangle layered under and play with the opacity for another layered vibe. Here are my two favorite internet-sourced frames 😉.
MULTIPLE APPS
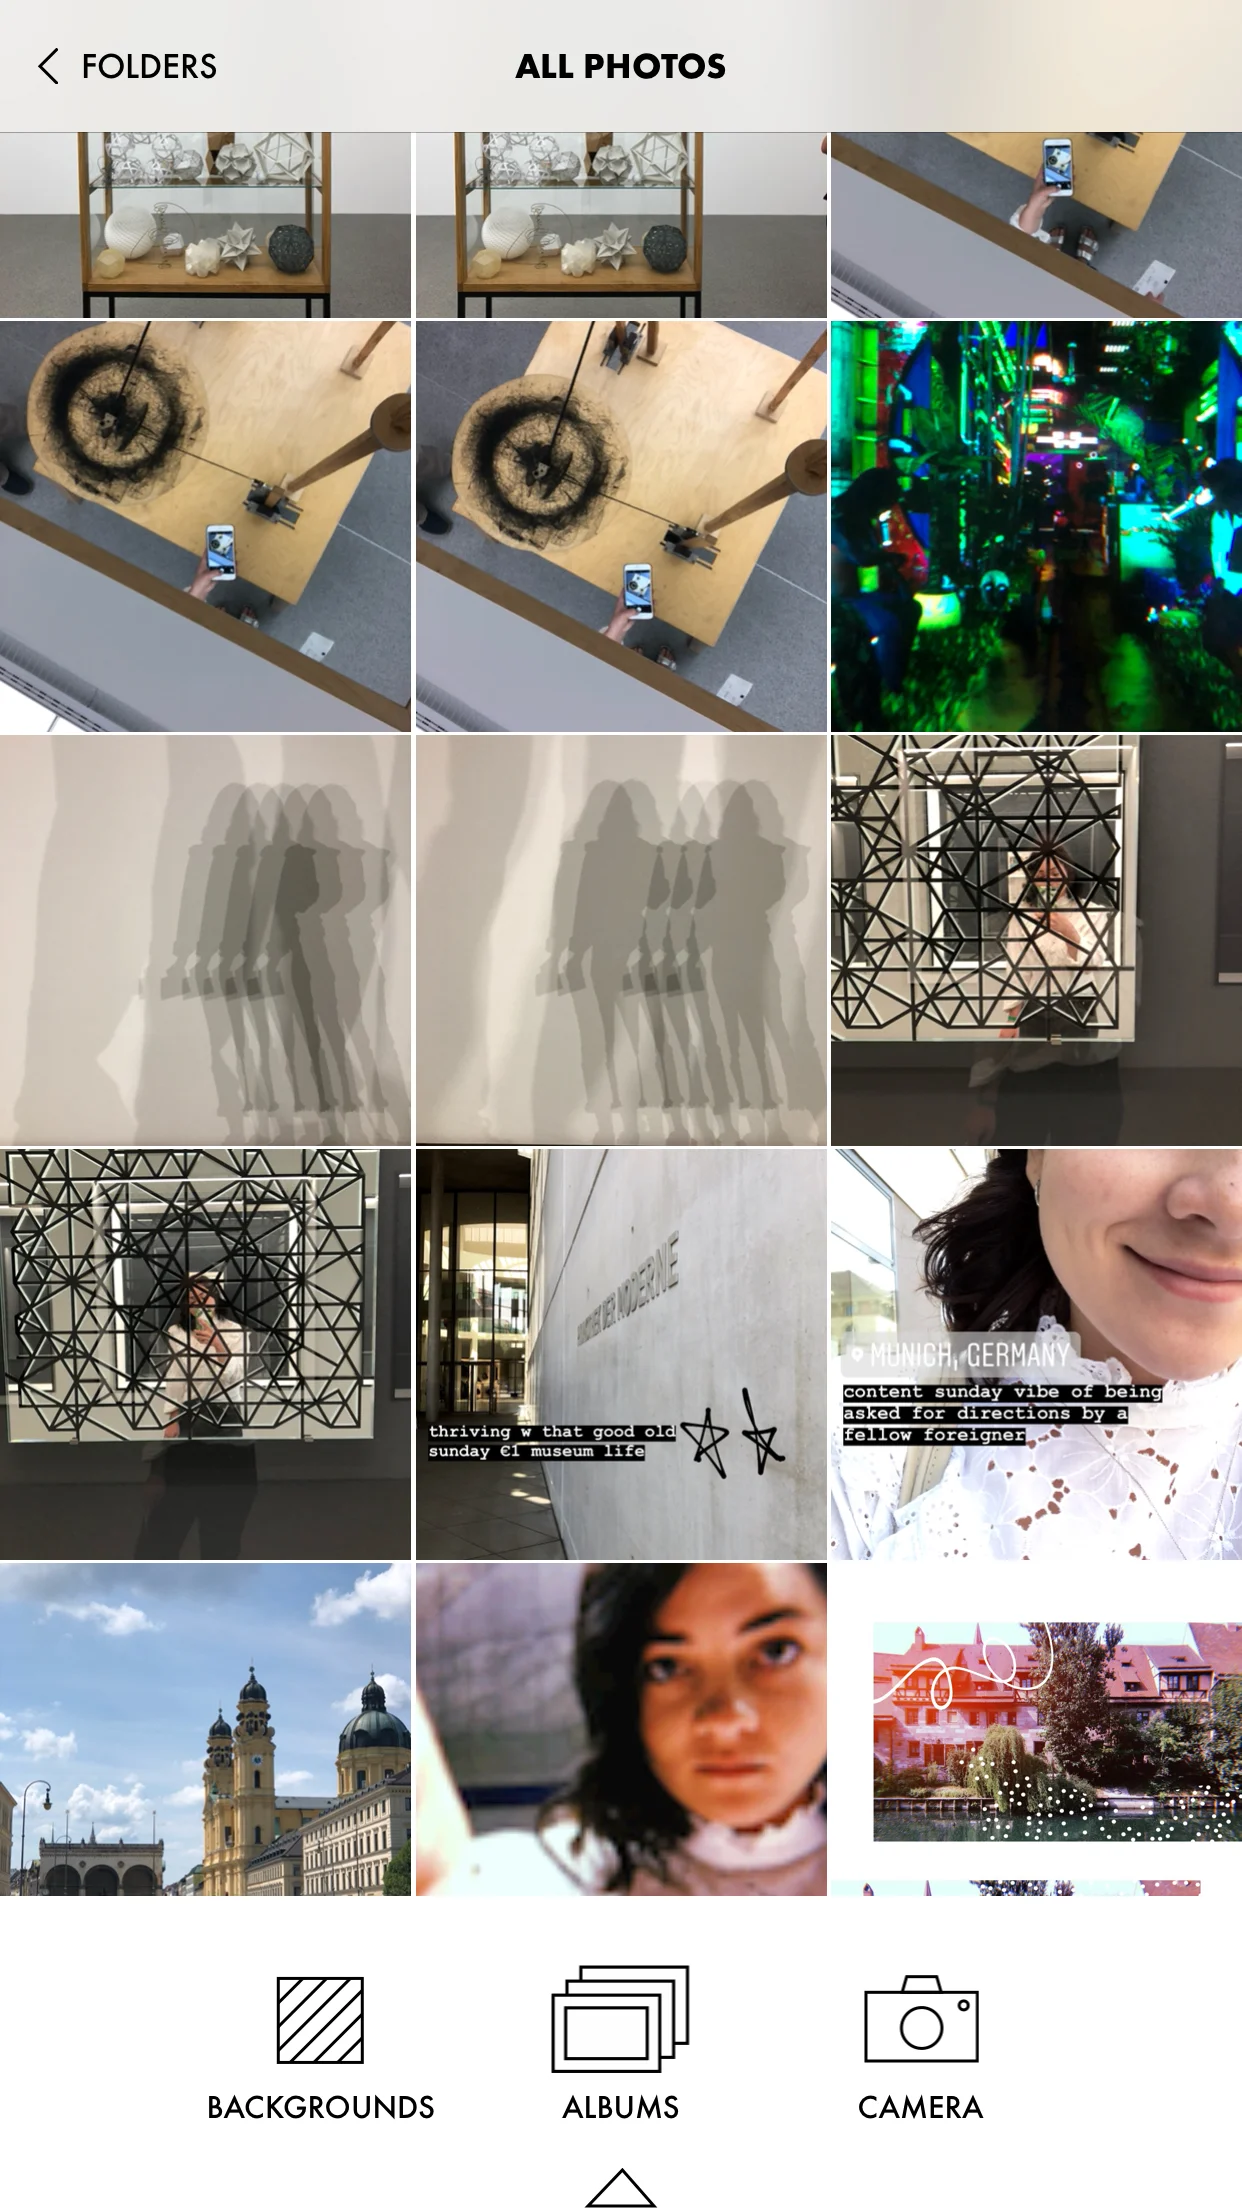
A tip for those keen on investing some time and fidgeting into this process (I have very bad service everywhere abroad so I just kind of did this in my spare time). The general order for edits I typically do is:
- VSCO for filters, keeping the same style for photos so they mesh well
- Over for all the actual layering and collagey stuff, get creative kids!
- A Design Kit or Insta Story hacking for doodling, generally will skip this one and layer on preset or past doodles I have saved as images in Over but sometimes I do opt for the more intensive route (that sounds very technical, but I mean I guess this whole thing is very ~extra & technical~).
- You can even test the creative waters more and try making a larger image and splitting it into 3 or 6 or 9 squares to block out your feed (it is obnoxious to post in groups of 3 from there forward though so be warned).
Hopefully, this little roundup provides you with some new tools for your Insta-arsenal! Get on with your doodling and digital collaging, my pals!
All screenshots via respective apps and images via Kathryn Hicks.