Welcome to Inspired Eye, a series where I make eyeshadow looks (and occasionally other stuff too) based off of recent events on campus. This week’s tutorial is based on the theme of “first snow” and celebrates the first snow of the year.

First Snow
An Inspired Eye look
Products used:
Wet n Wild Photofocus Eyeshadow Primer (eyeshadow primer)
Elf Baked Highlighter & Blush duo in Rose Gold (satiny champagne highlighter)
Anastasia Beverly Hills Subculture Eyeshadow Palette in cube, dawn, destiny, and untamed, (white-purple duochrome, beige, khaki, and forest green)
MAC eyeshadow in Jest (a glittery white-champagne)
Brushes Used
Essence eye blender brush (domed rounded blending brush)
Bdellium tools (small dense domed crease brush)
Bdellium tools (pencil brush)
Real Techniques (fluffy narrow oval crease brush)
Time: 15 mins
Note: Dupe it! You don’t have to use the exact products that I used here to create the same look. I listed descriptions of the shade colors along with the products, and I’ll be referring to the shade colors throughout the tutorial. You also don’t need the exact brushes - for this look, a pencil brush and a fluffy blending brush is really all you need.
Step 1: Prime and prep
Apply a dot of eyeshadow primer and blend with your hands. Then, take a rounded fluffy blending brush and apply a thin layer of skin-toned eyeshadow (for me, that would be a beige color) all over the eyelid and up to the browbone.
Tip: Apply a thin layer of skin-toned eyeshadow on top of your primer to “set” the primer - this way, eyeshadows don’t immediately stick to the eyeshadow primer, which will make blending easier.
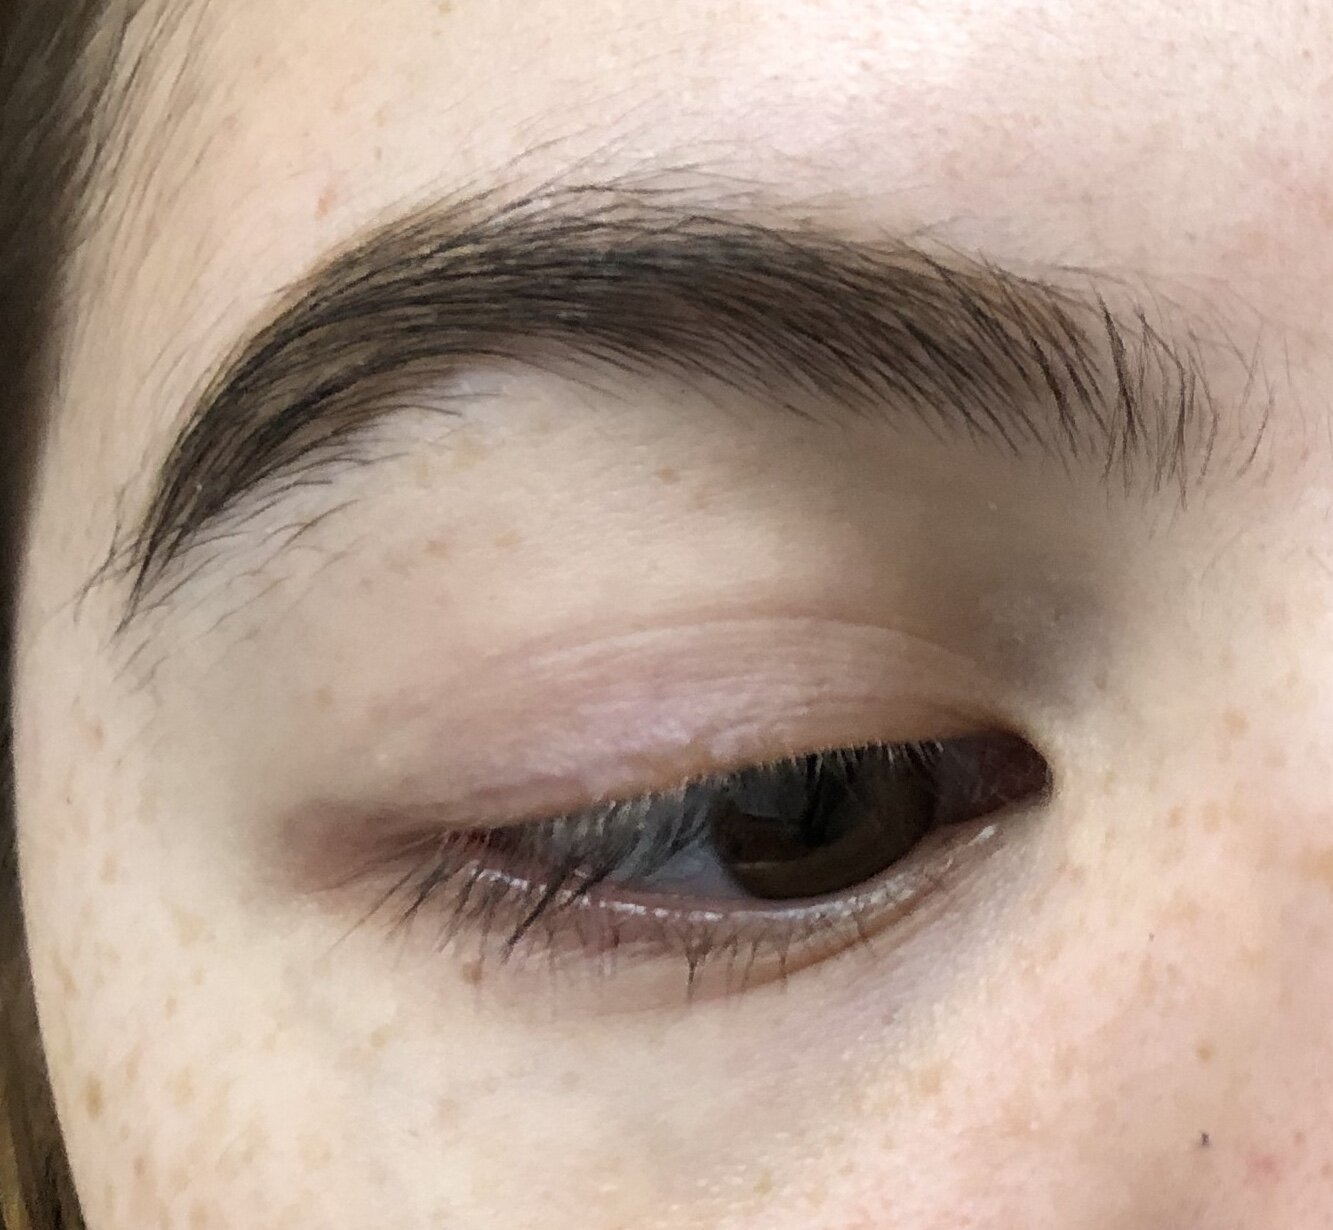
Step 1
Prime and prep
Step 2: The Satining
Apply a champagne highlighter with your fingers (because we’re classy like that) all over your eyelids to the eye socket. Take the fluffy blending brush and, making windshield-wiper motions, blend up towards the browbone, slowly diffusing the color. (For those who have little eye space (like me), this may mean blending up to the browbone - but that’s ok! Embrace it. There is nothing wrong with having color touch the browbone; if you blend it well, it looks totally fine.)
Repeat this step one time until the eye is sufficiently satiny to your taste.
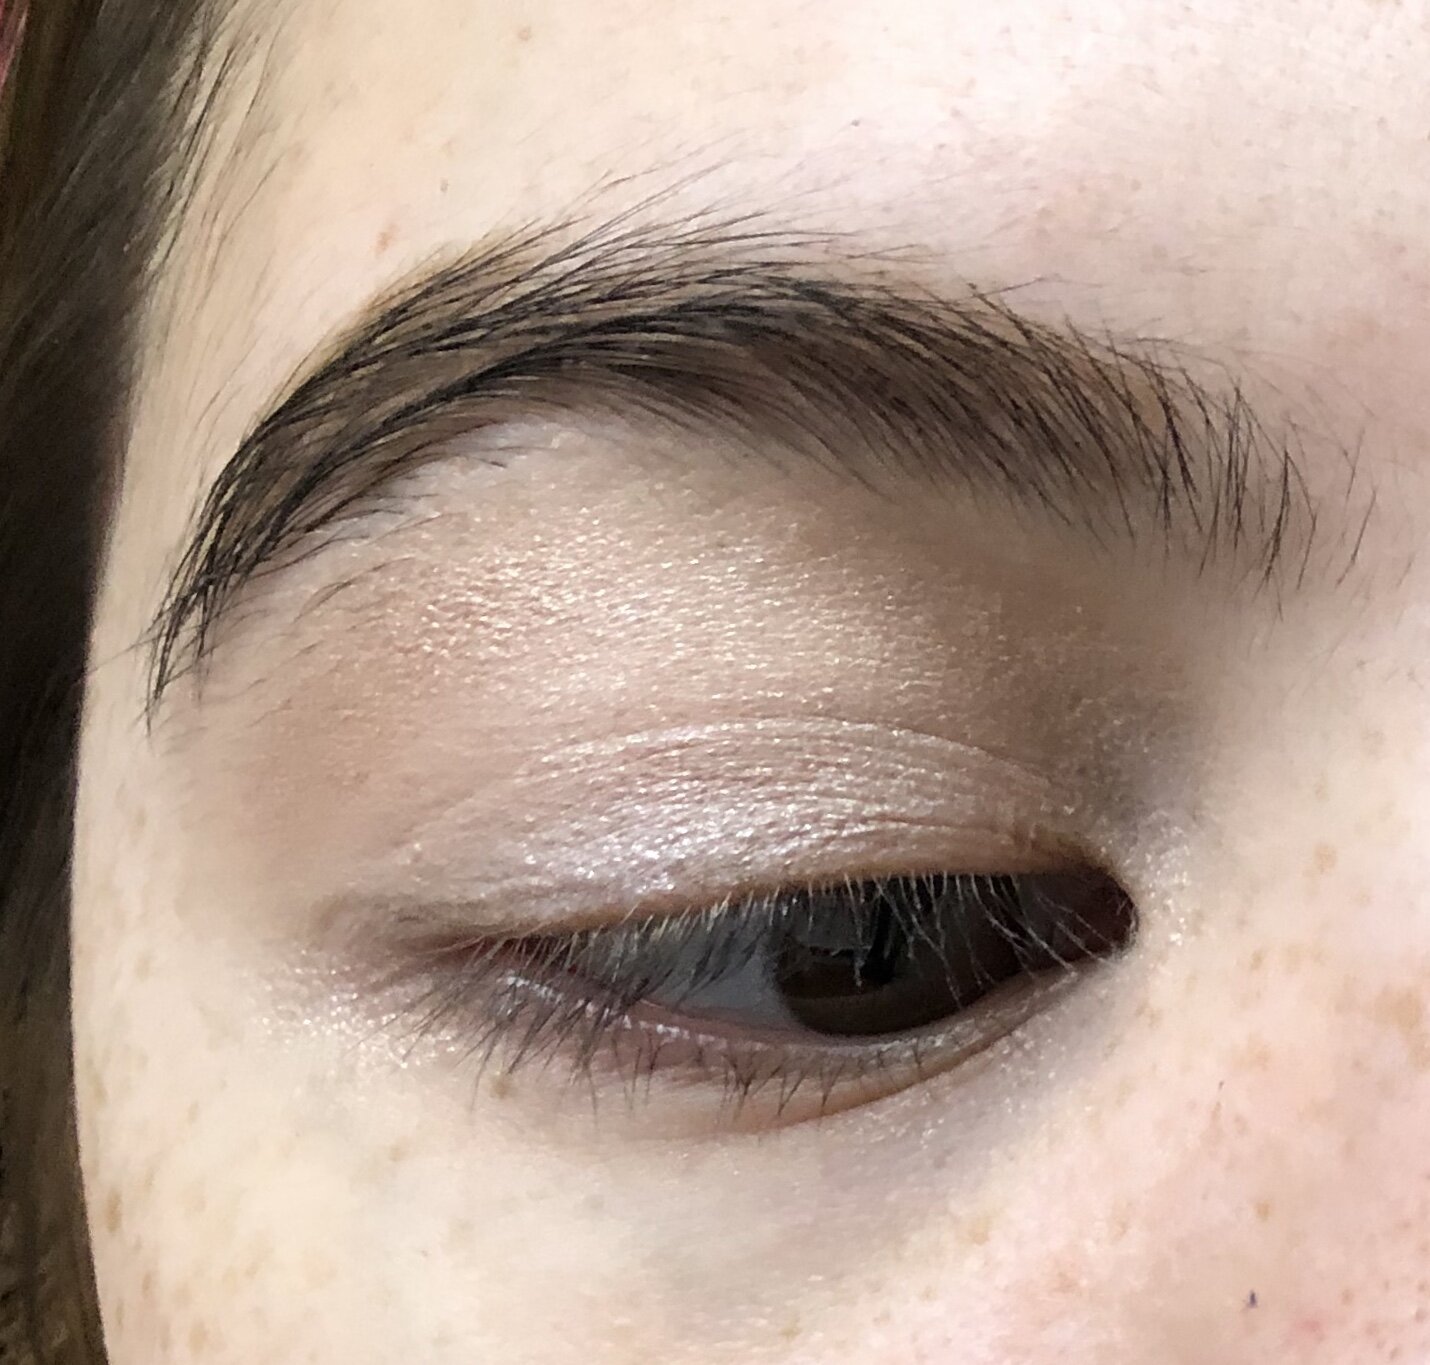
Step 2
The Satining
Step 3: Some green appears
Take a khaki shade and apply along the lash line with the pencil brush. (We’re going with green here, because even though the snow was falling thick, there was a little green peeking out, and it’s important to recognize what little green we have left before winter makes it all die off. Also, colors are fun.)
Blend with the blending brush using small circular motions, starting from the outer corner inward. Apply another layer of khaki to the lash line, because Anastasia’s colors have a tendency to disappear quicker than maroon bucks. Repeat this step until you have a good gradient going on. The color should be darker at the lashline and slowly diffused out - the goal is a diffusion of color that still has some punch behind it.
This is a good, basic look (especially for those who have monolids or hooded eyes), but we’re going to expand upon this a bit.
Tip: Don’t forget to blend vertically as well - blending the inner eye and outer eye can really make or break a look.

Step 3
Some green appears
Step 4: Green glows up
Now this is where we’re getting fancy. Essentially, what we’ll be doing here is creating a triangle-shaped wing and blending that out.
Taking a smaller, denser brush (can be a dense crease brush or, for those with smaller eyes, a pencil brush), apply some forest green eyeshadow to the lash line, at about 3/4ths of the way from the inner eye. Then, make a diagonal line towards the tail of your eyebrow, stopping about ½ of the way there. Take the same green color and apply again, this time starting from the corner of your eye and going directly up until you hit the end of the first line. Fill in the space between these two lines with the green.
Blend in small windshield motions with a blending brush only where the color meets another shade - we want a smooth transition between colors, but still maintaining the wing shape and not overblending to the point of muddiness. Keep repeating this step, being careful to keep the wing shape - add more color closer to the eye and lightly diffuse the color out. If you want a more striking look, blend with a pencil brush to keep the shade as unblended and graphic as possible.

Step 4
Green glows up
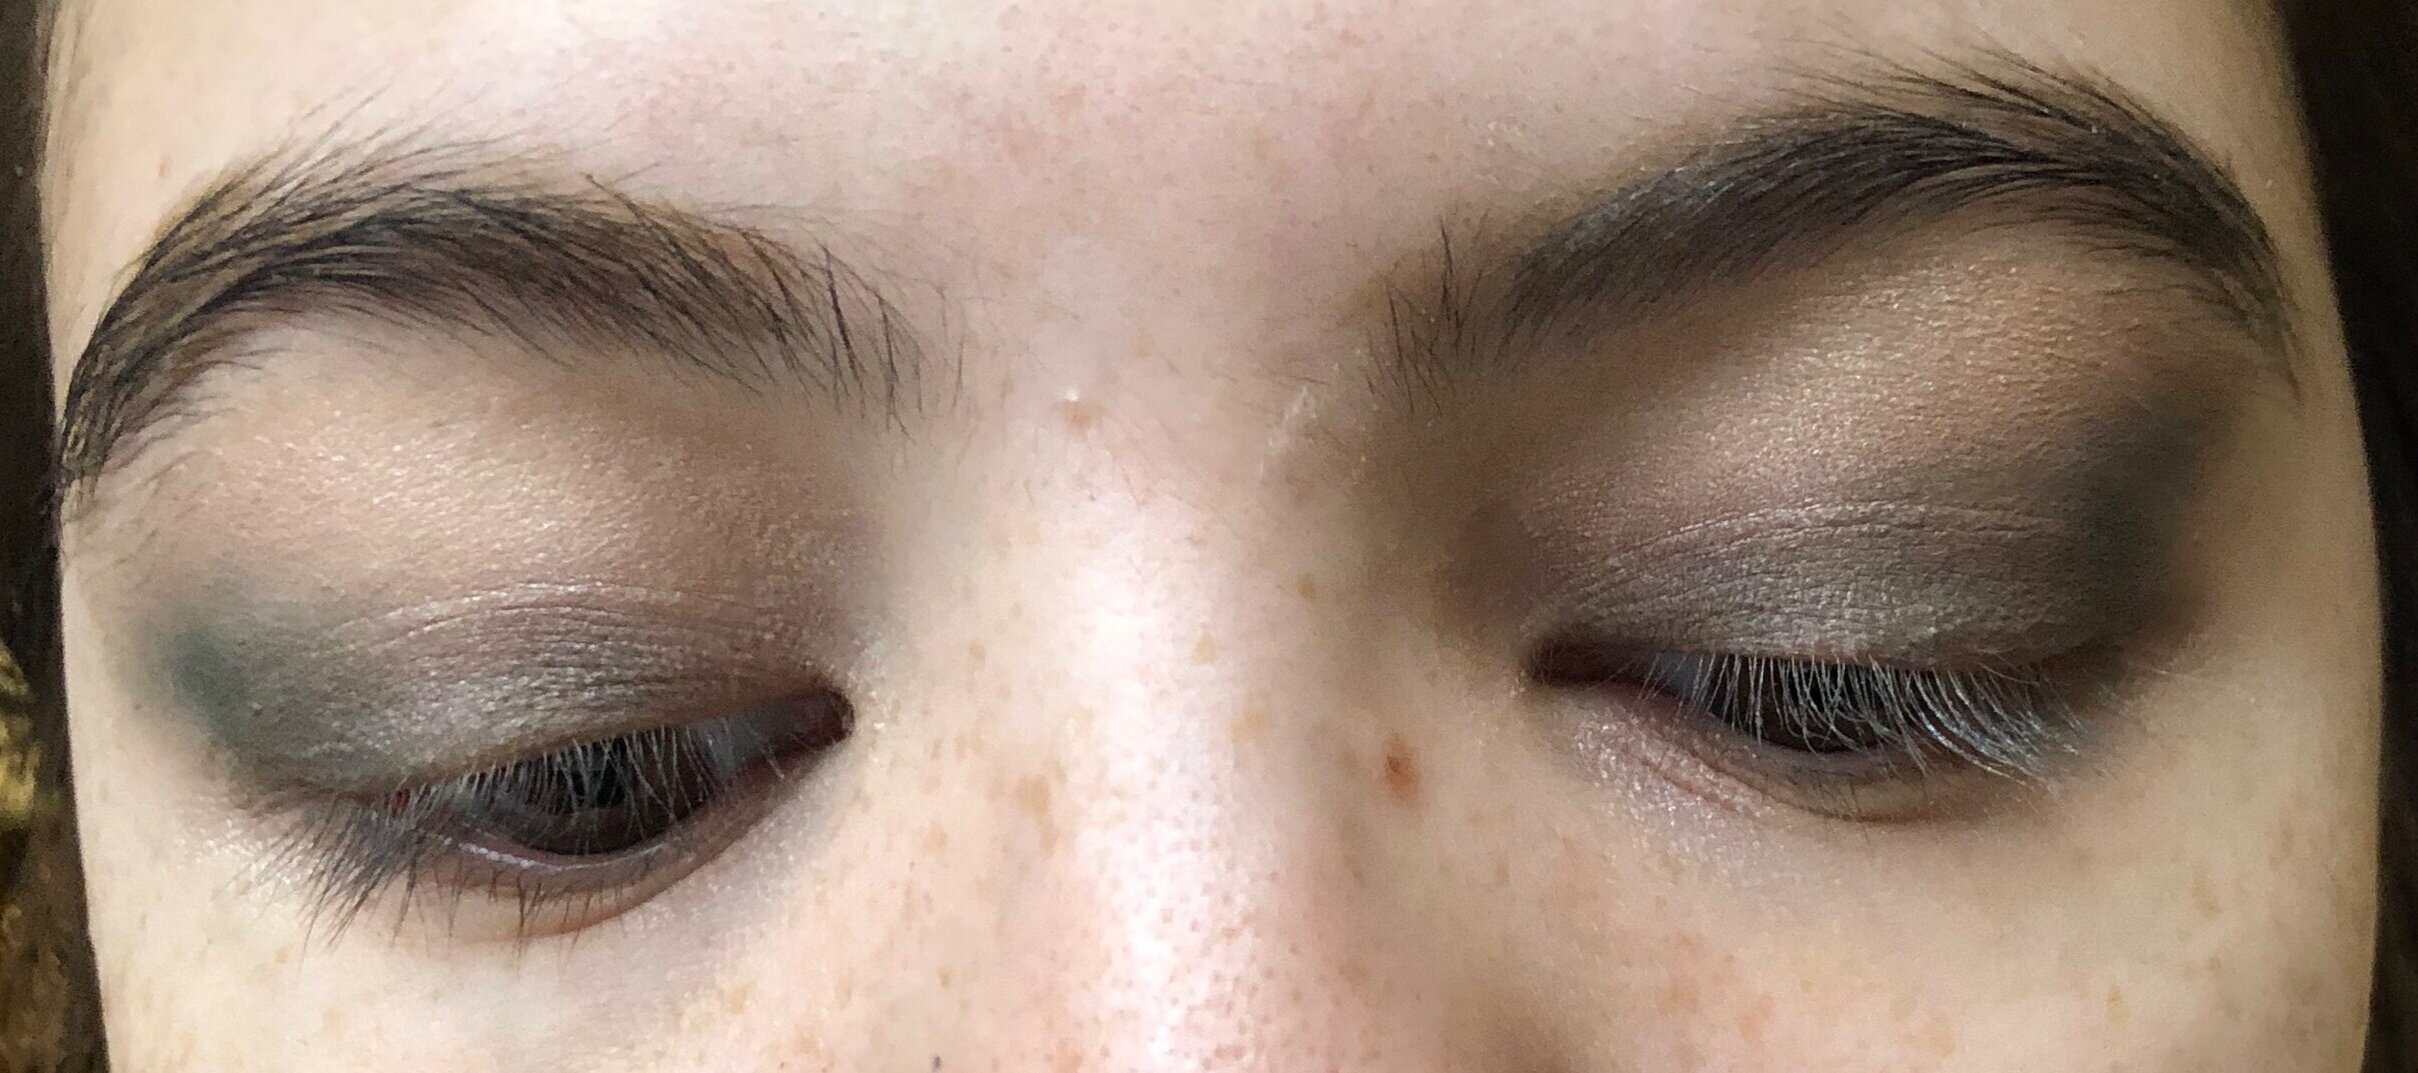
Left - unblended, right - blended
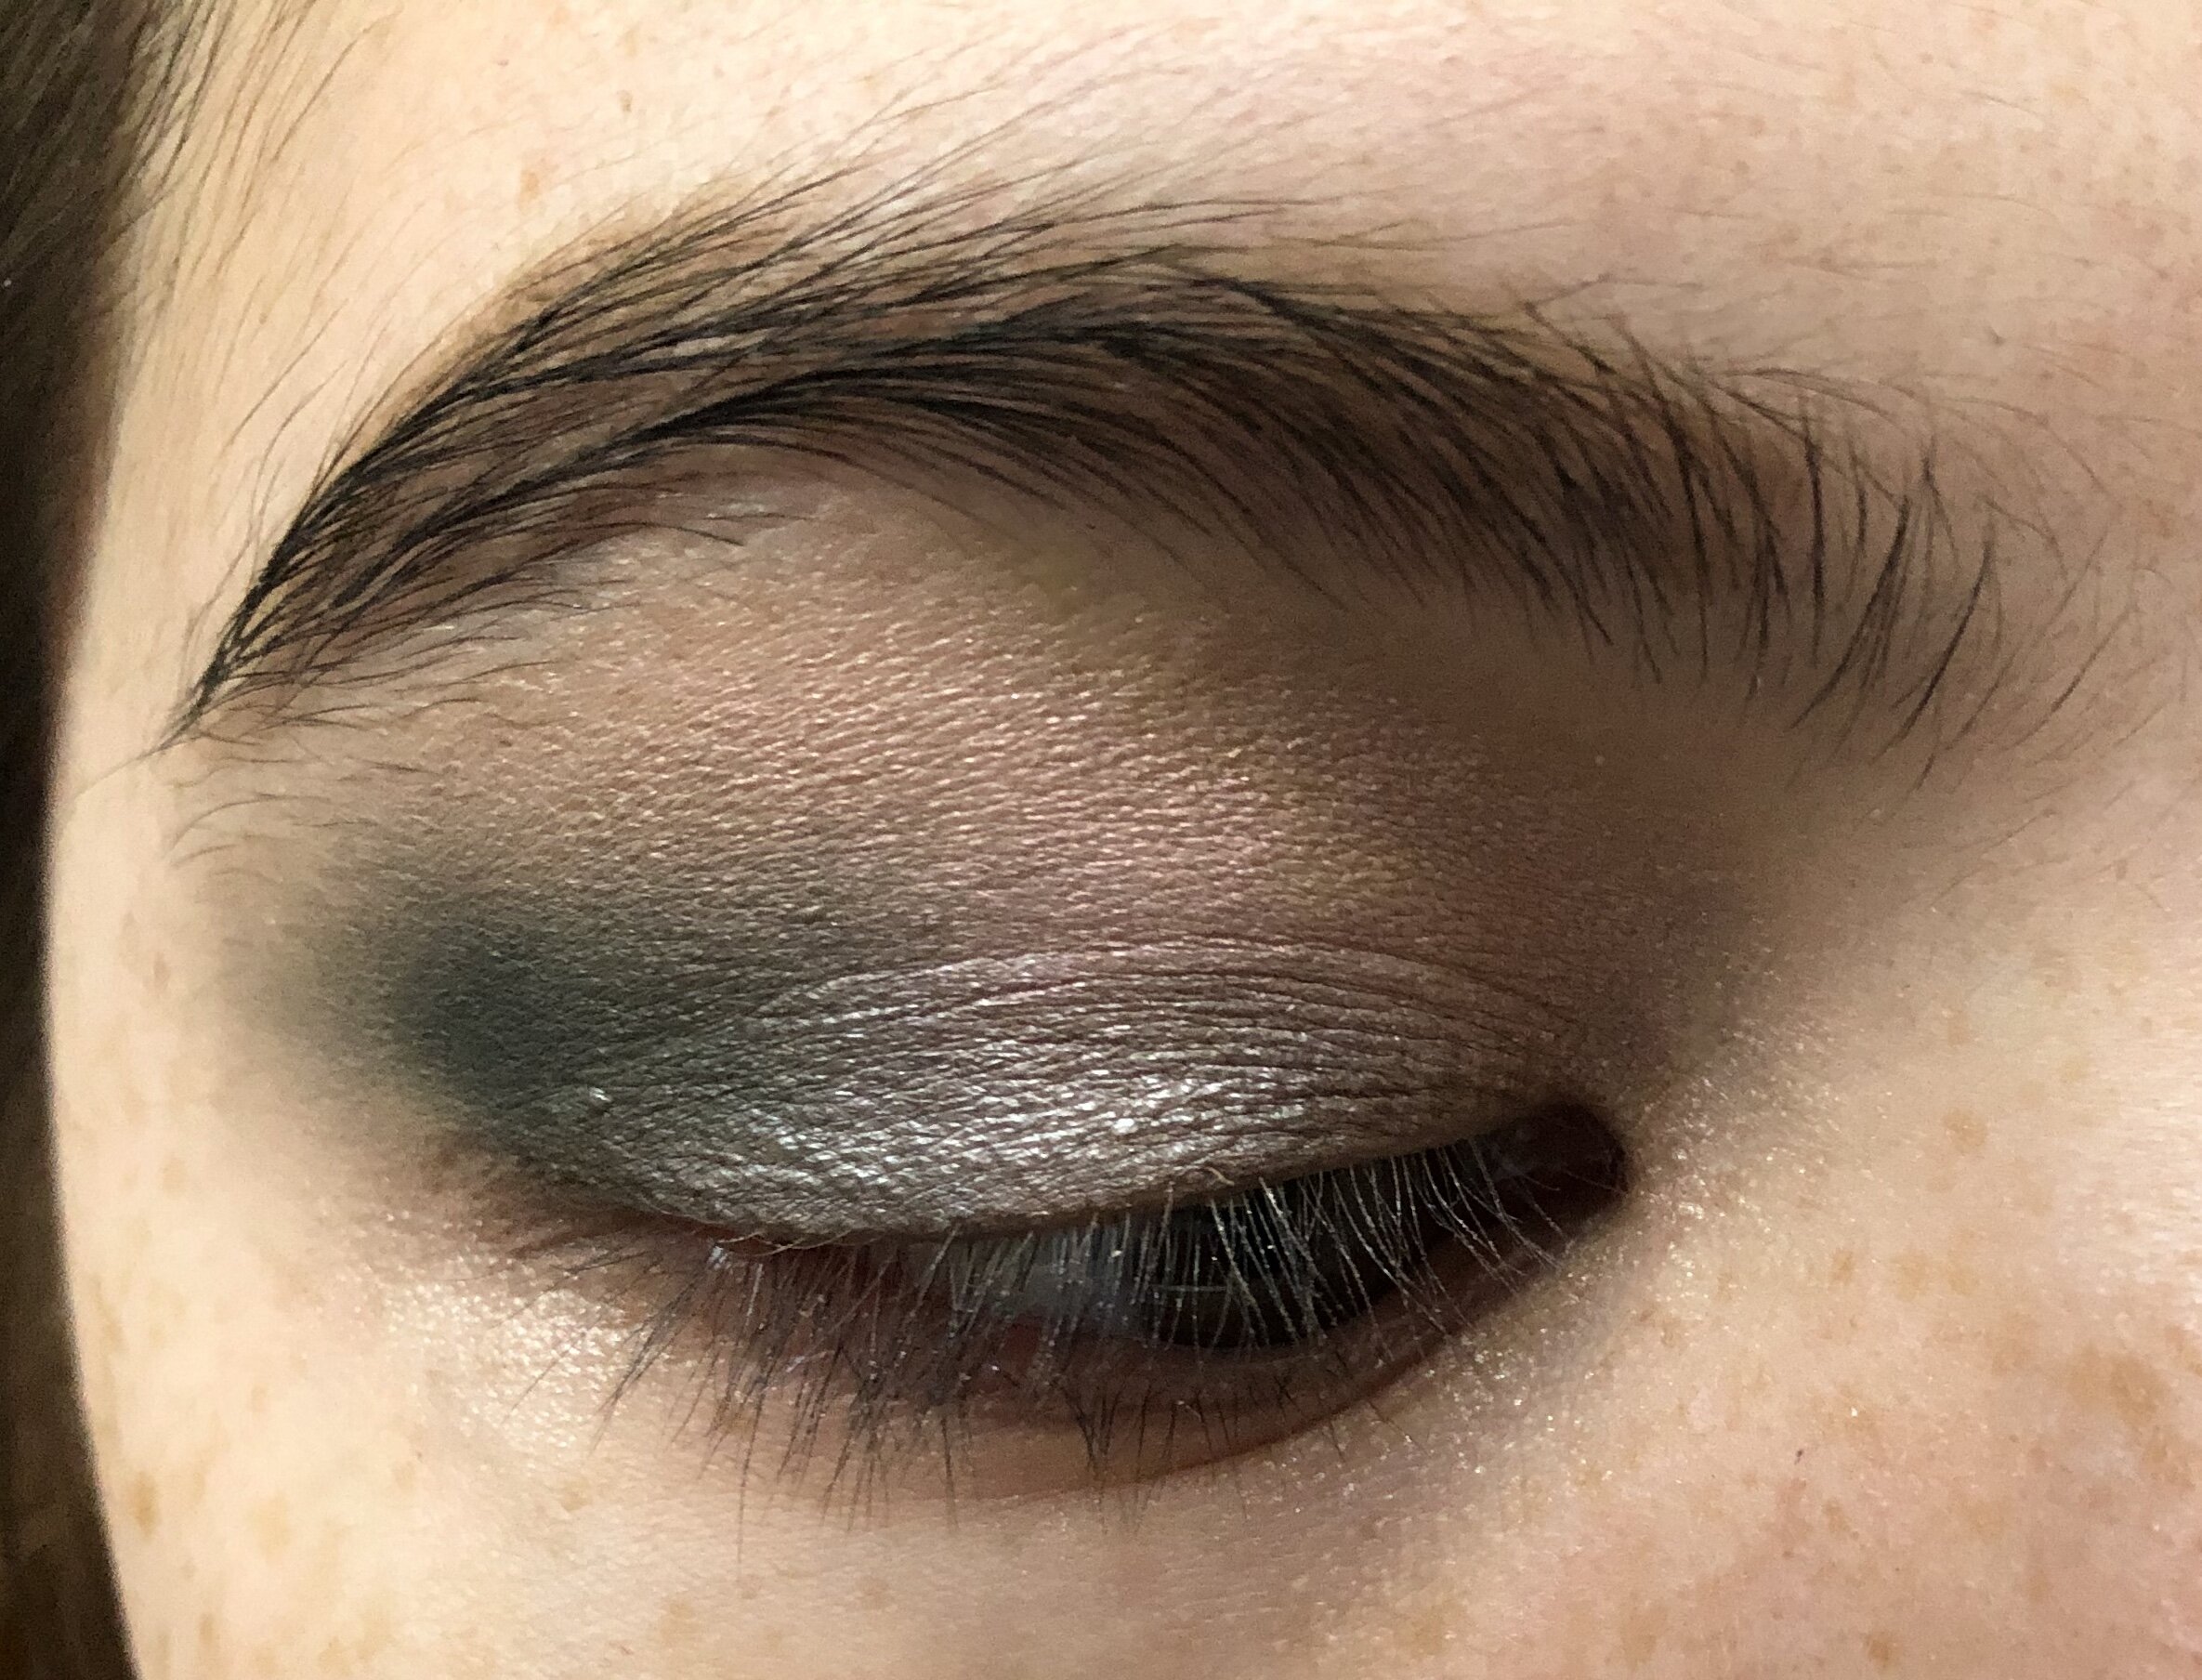
Step 5: A wild duochrome appears
I love, love duochromes - they’re a good way to add a pop of something interesting to your eye look without much effort. Here, we’ll be using a white duochrome that turns purple in the light - a lot like the purple bruises that appear whenever I fall on the icy quad.
Using a fluffy narrow brush, apply the shade with windshield-wiper motions, focusing on the inner ½ of the eye. Deposit color at the halfway point of the area you want to cover and then apply to the left and to the right. Blend around the browbone and where the white meets green, but otherwise try to maintain the intensity of the white duochrome goodness. Bring the shade a little down to meet the diffused khaki shade, but for the most part try to keep it above the eye and around the crease.
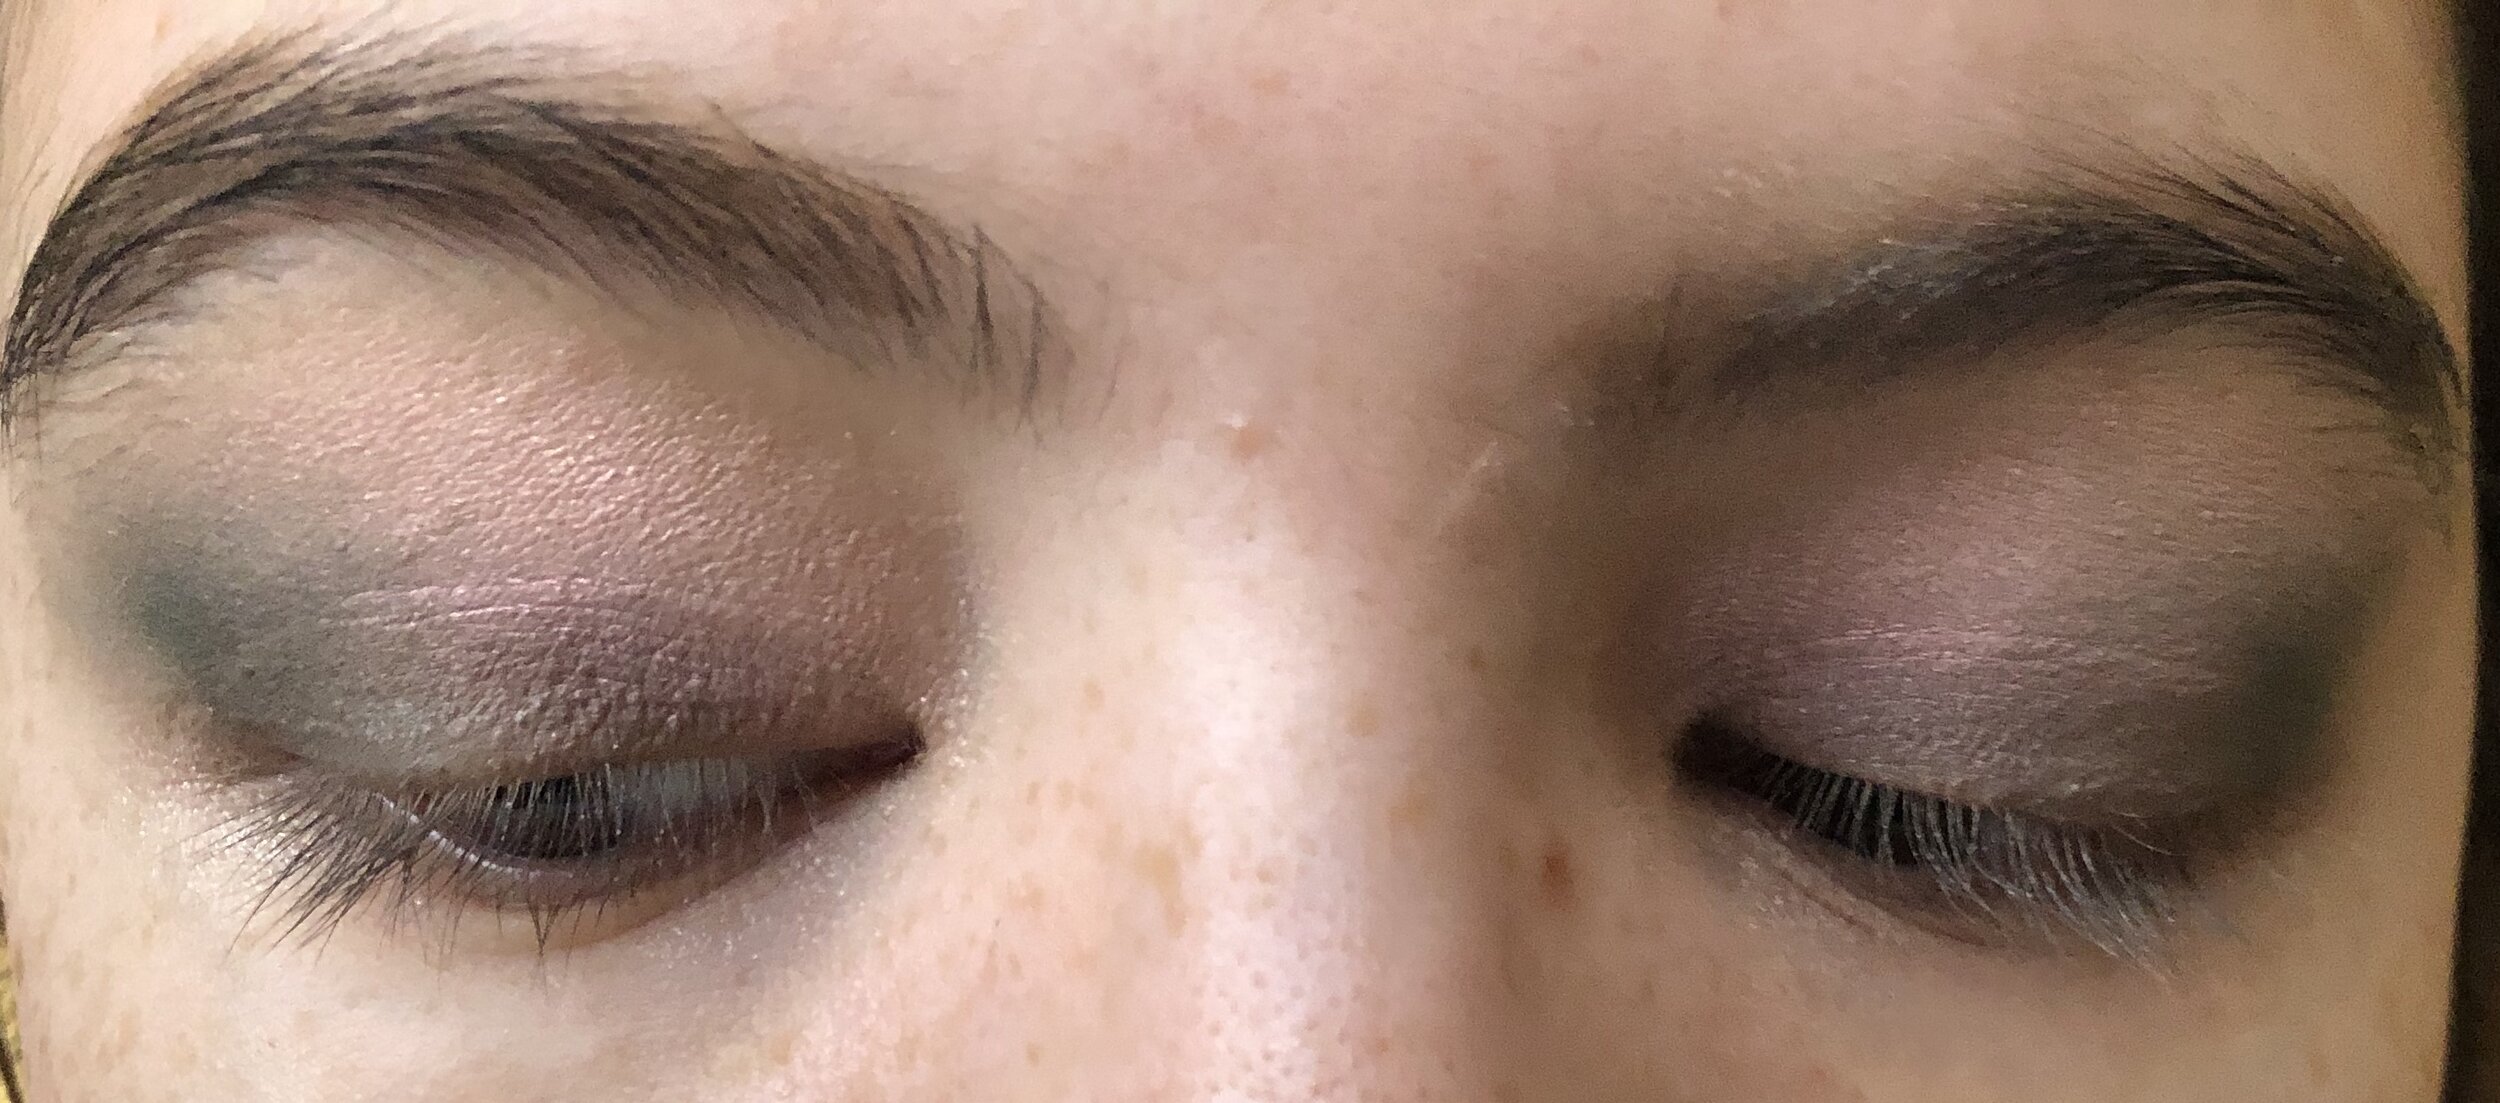
Step 5
A wild duochrome appears
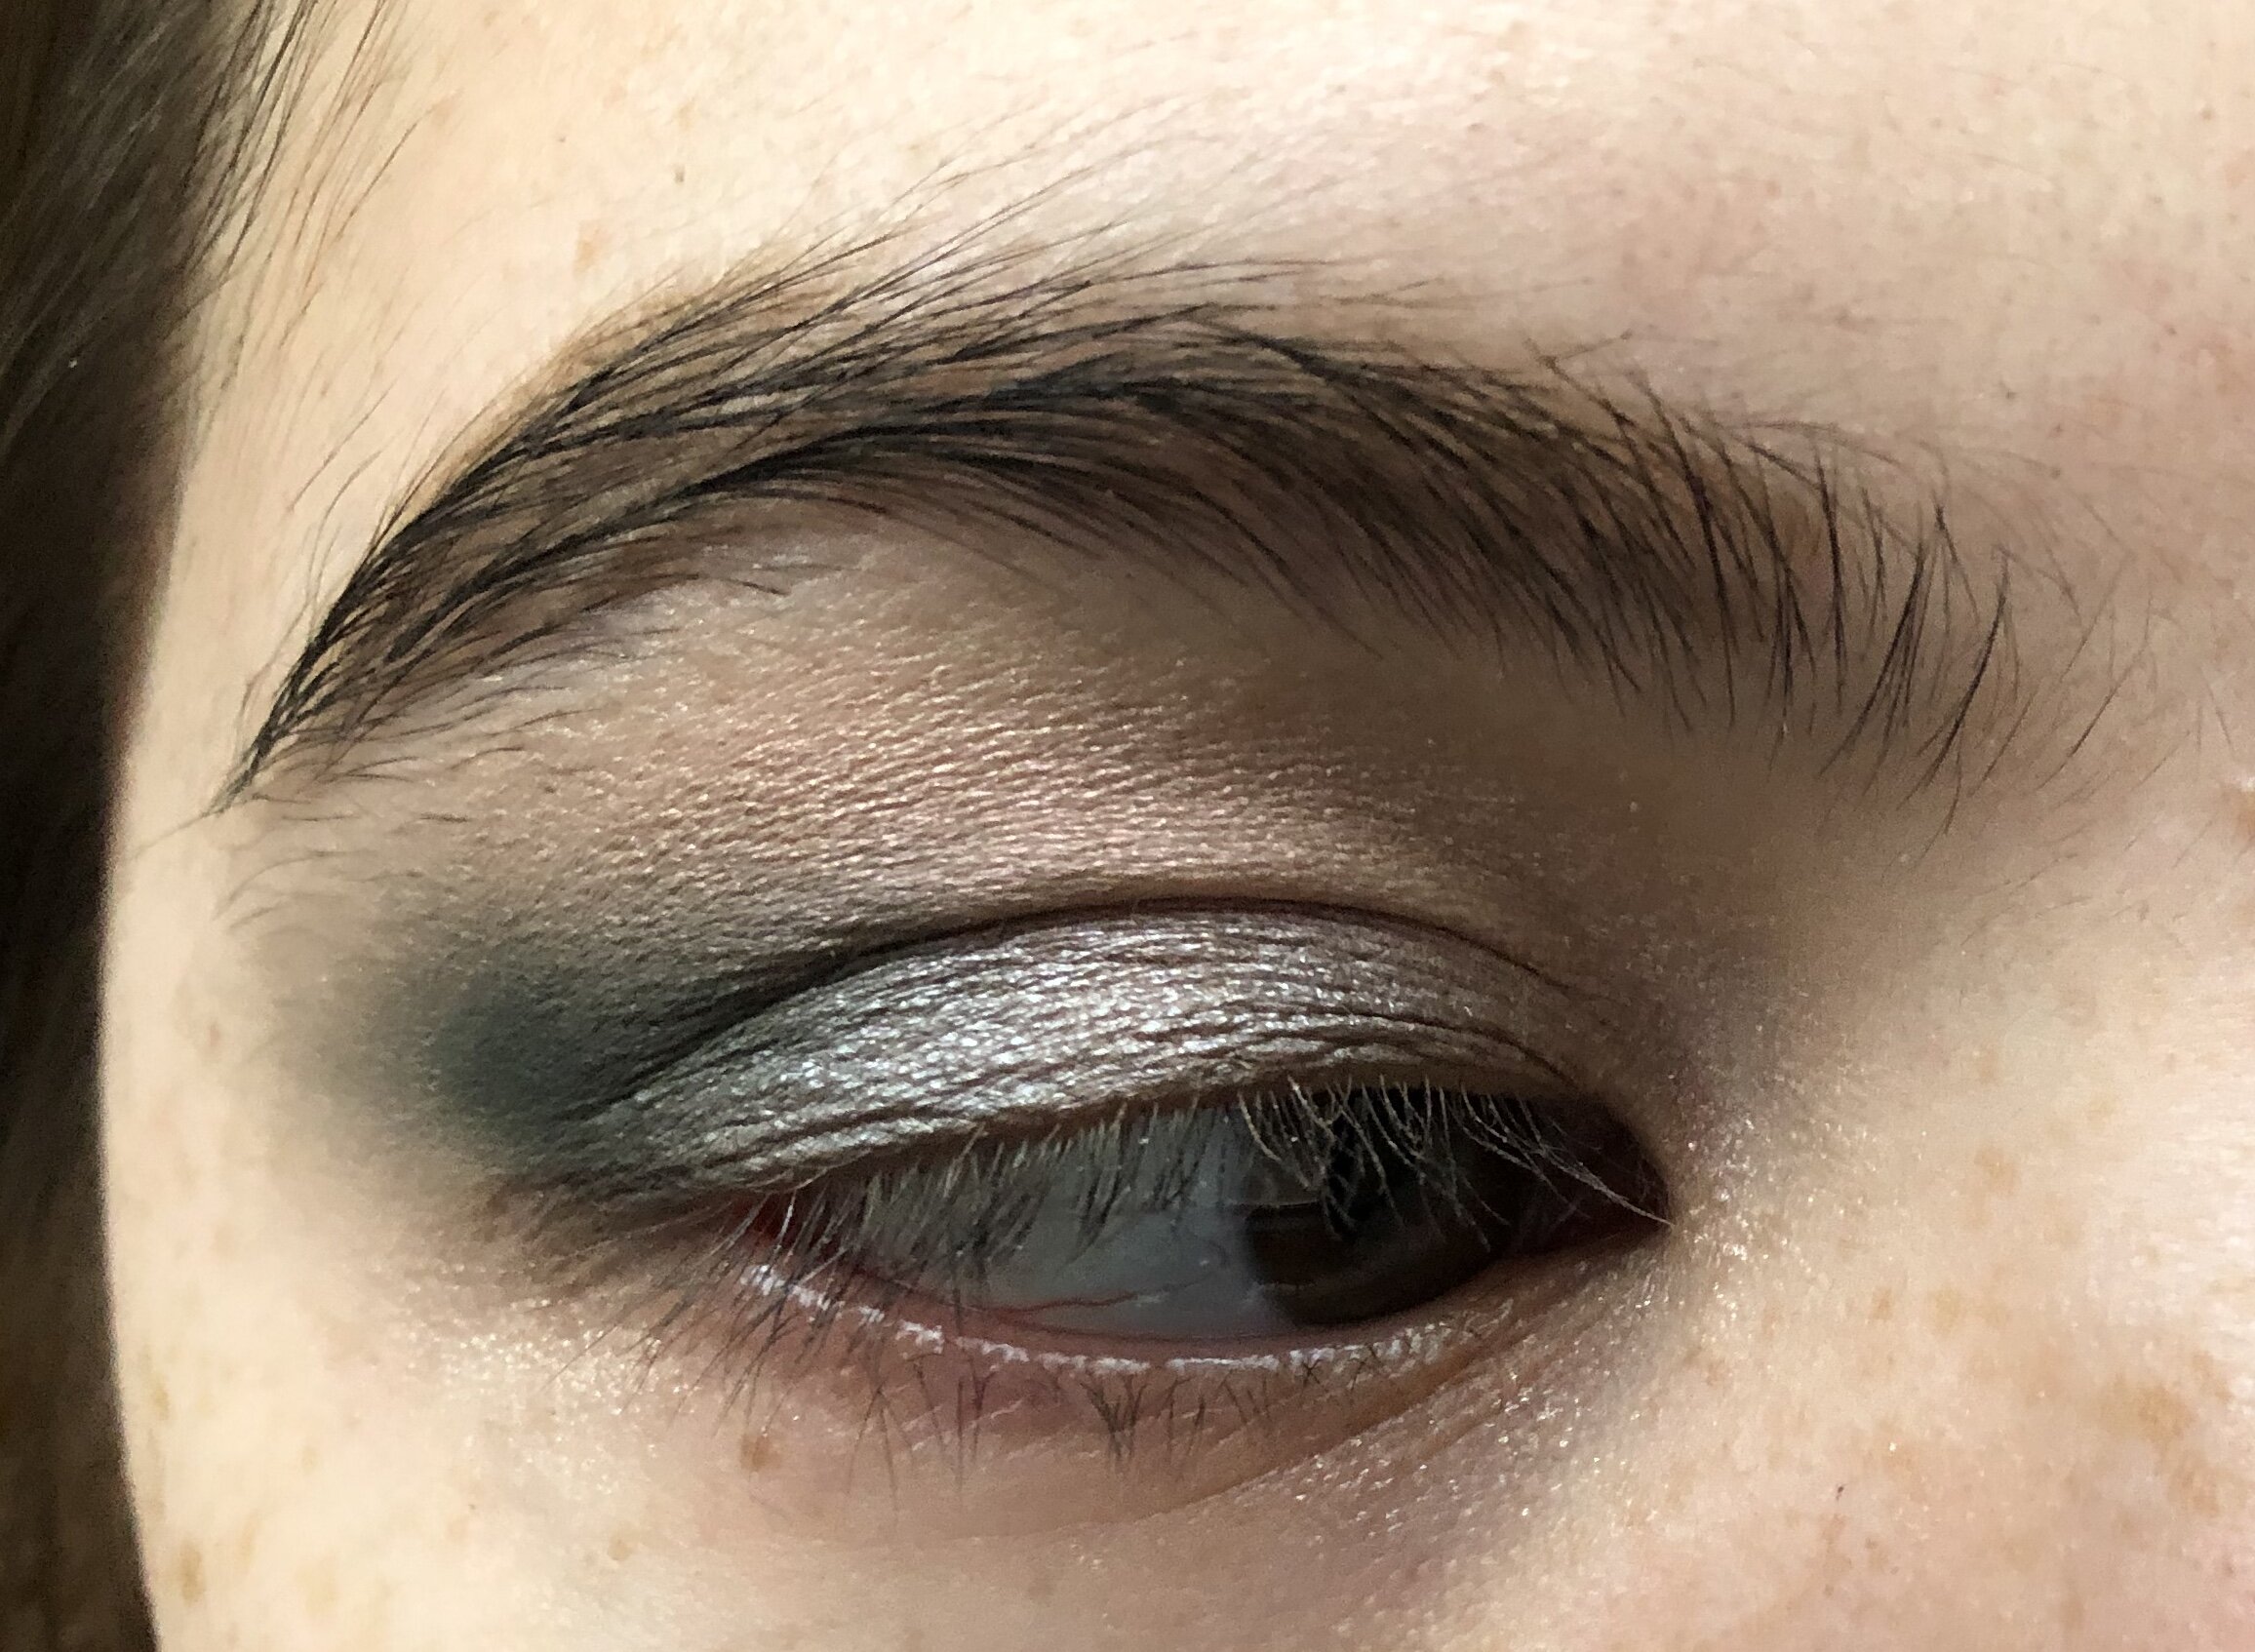
Step 6: As if this look wasn’t shiny enough
You’re almost done! Using your finger (for maximum shininess!), apply a frosty white color to the center of the eyelid. Lightly blend. Blink a couple of times and appreciate the shininess.
Congrats! You’re done!
Step 6
As if this look wasn’t shiny enough
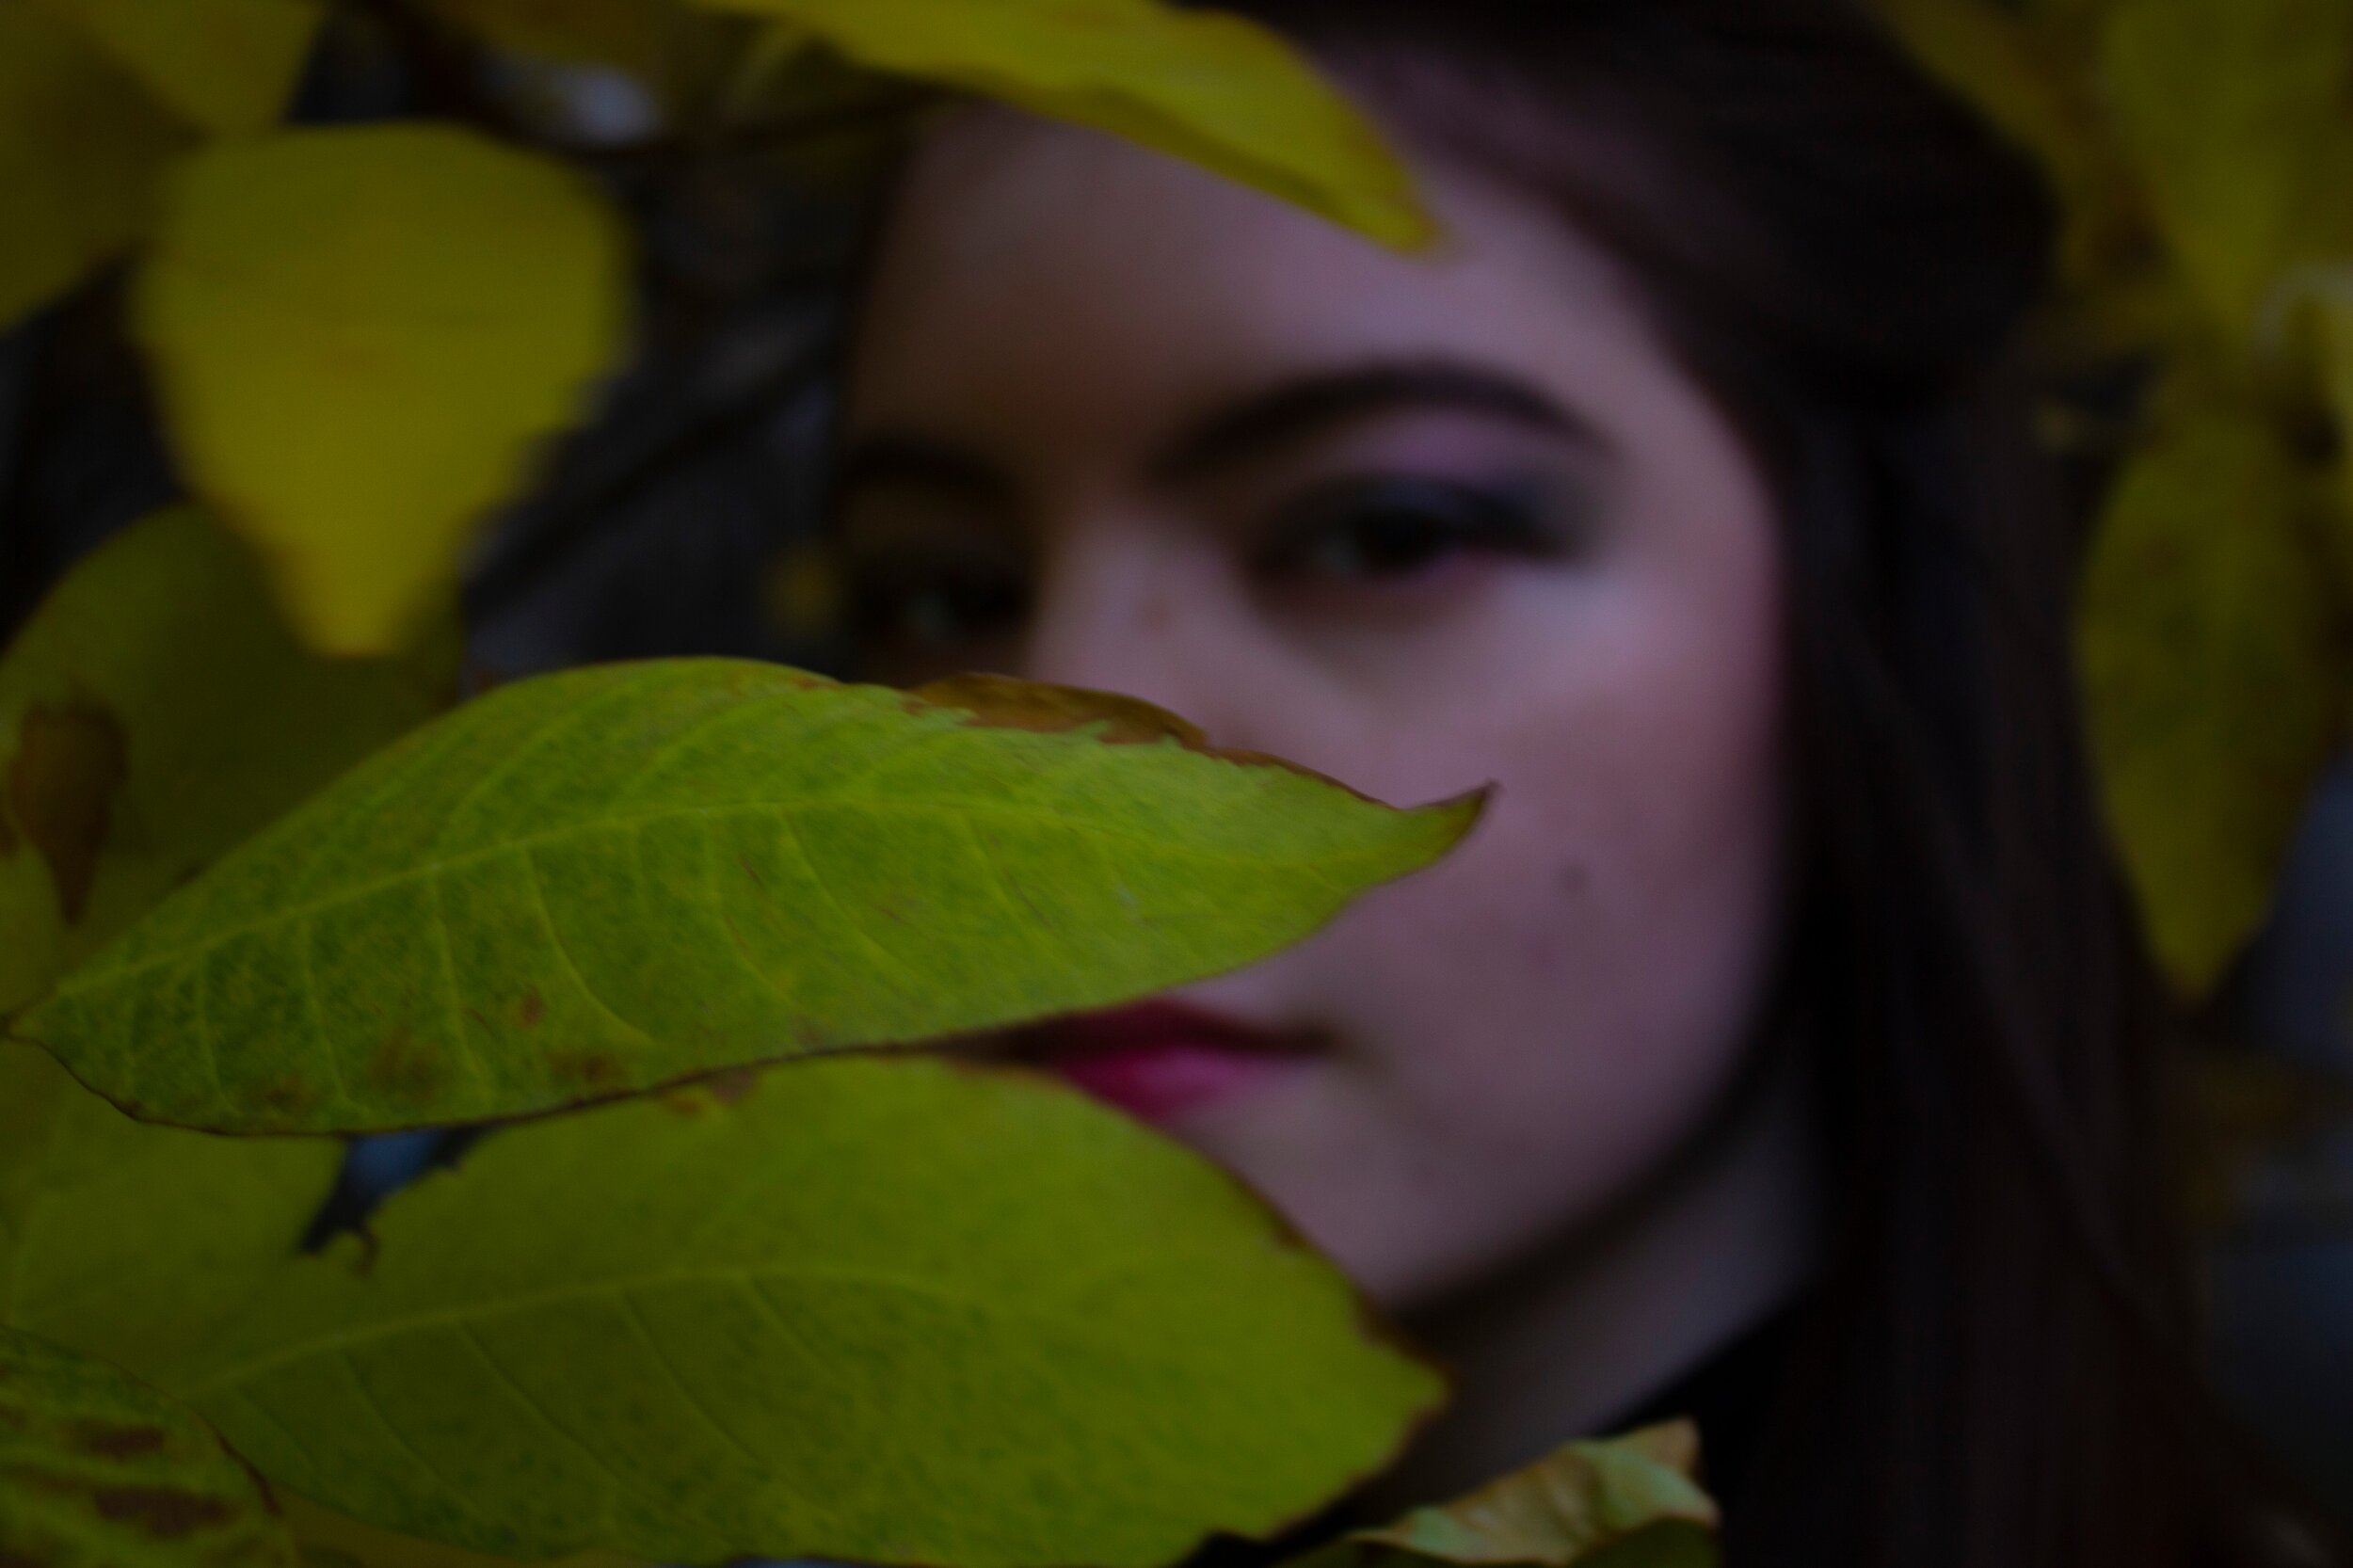
FINISHED LOOK
First Snow
Finished look
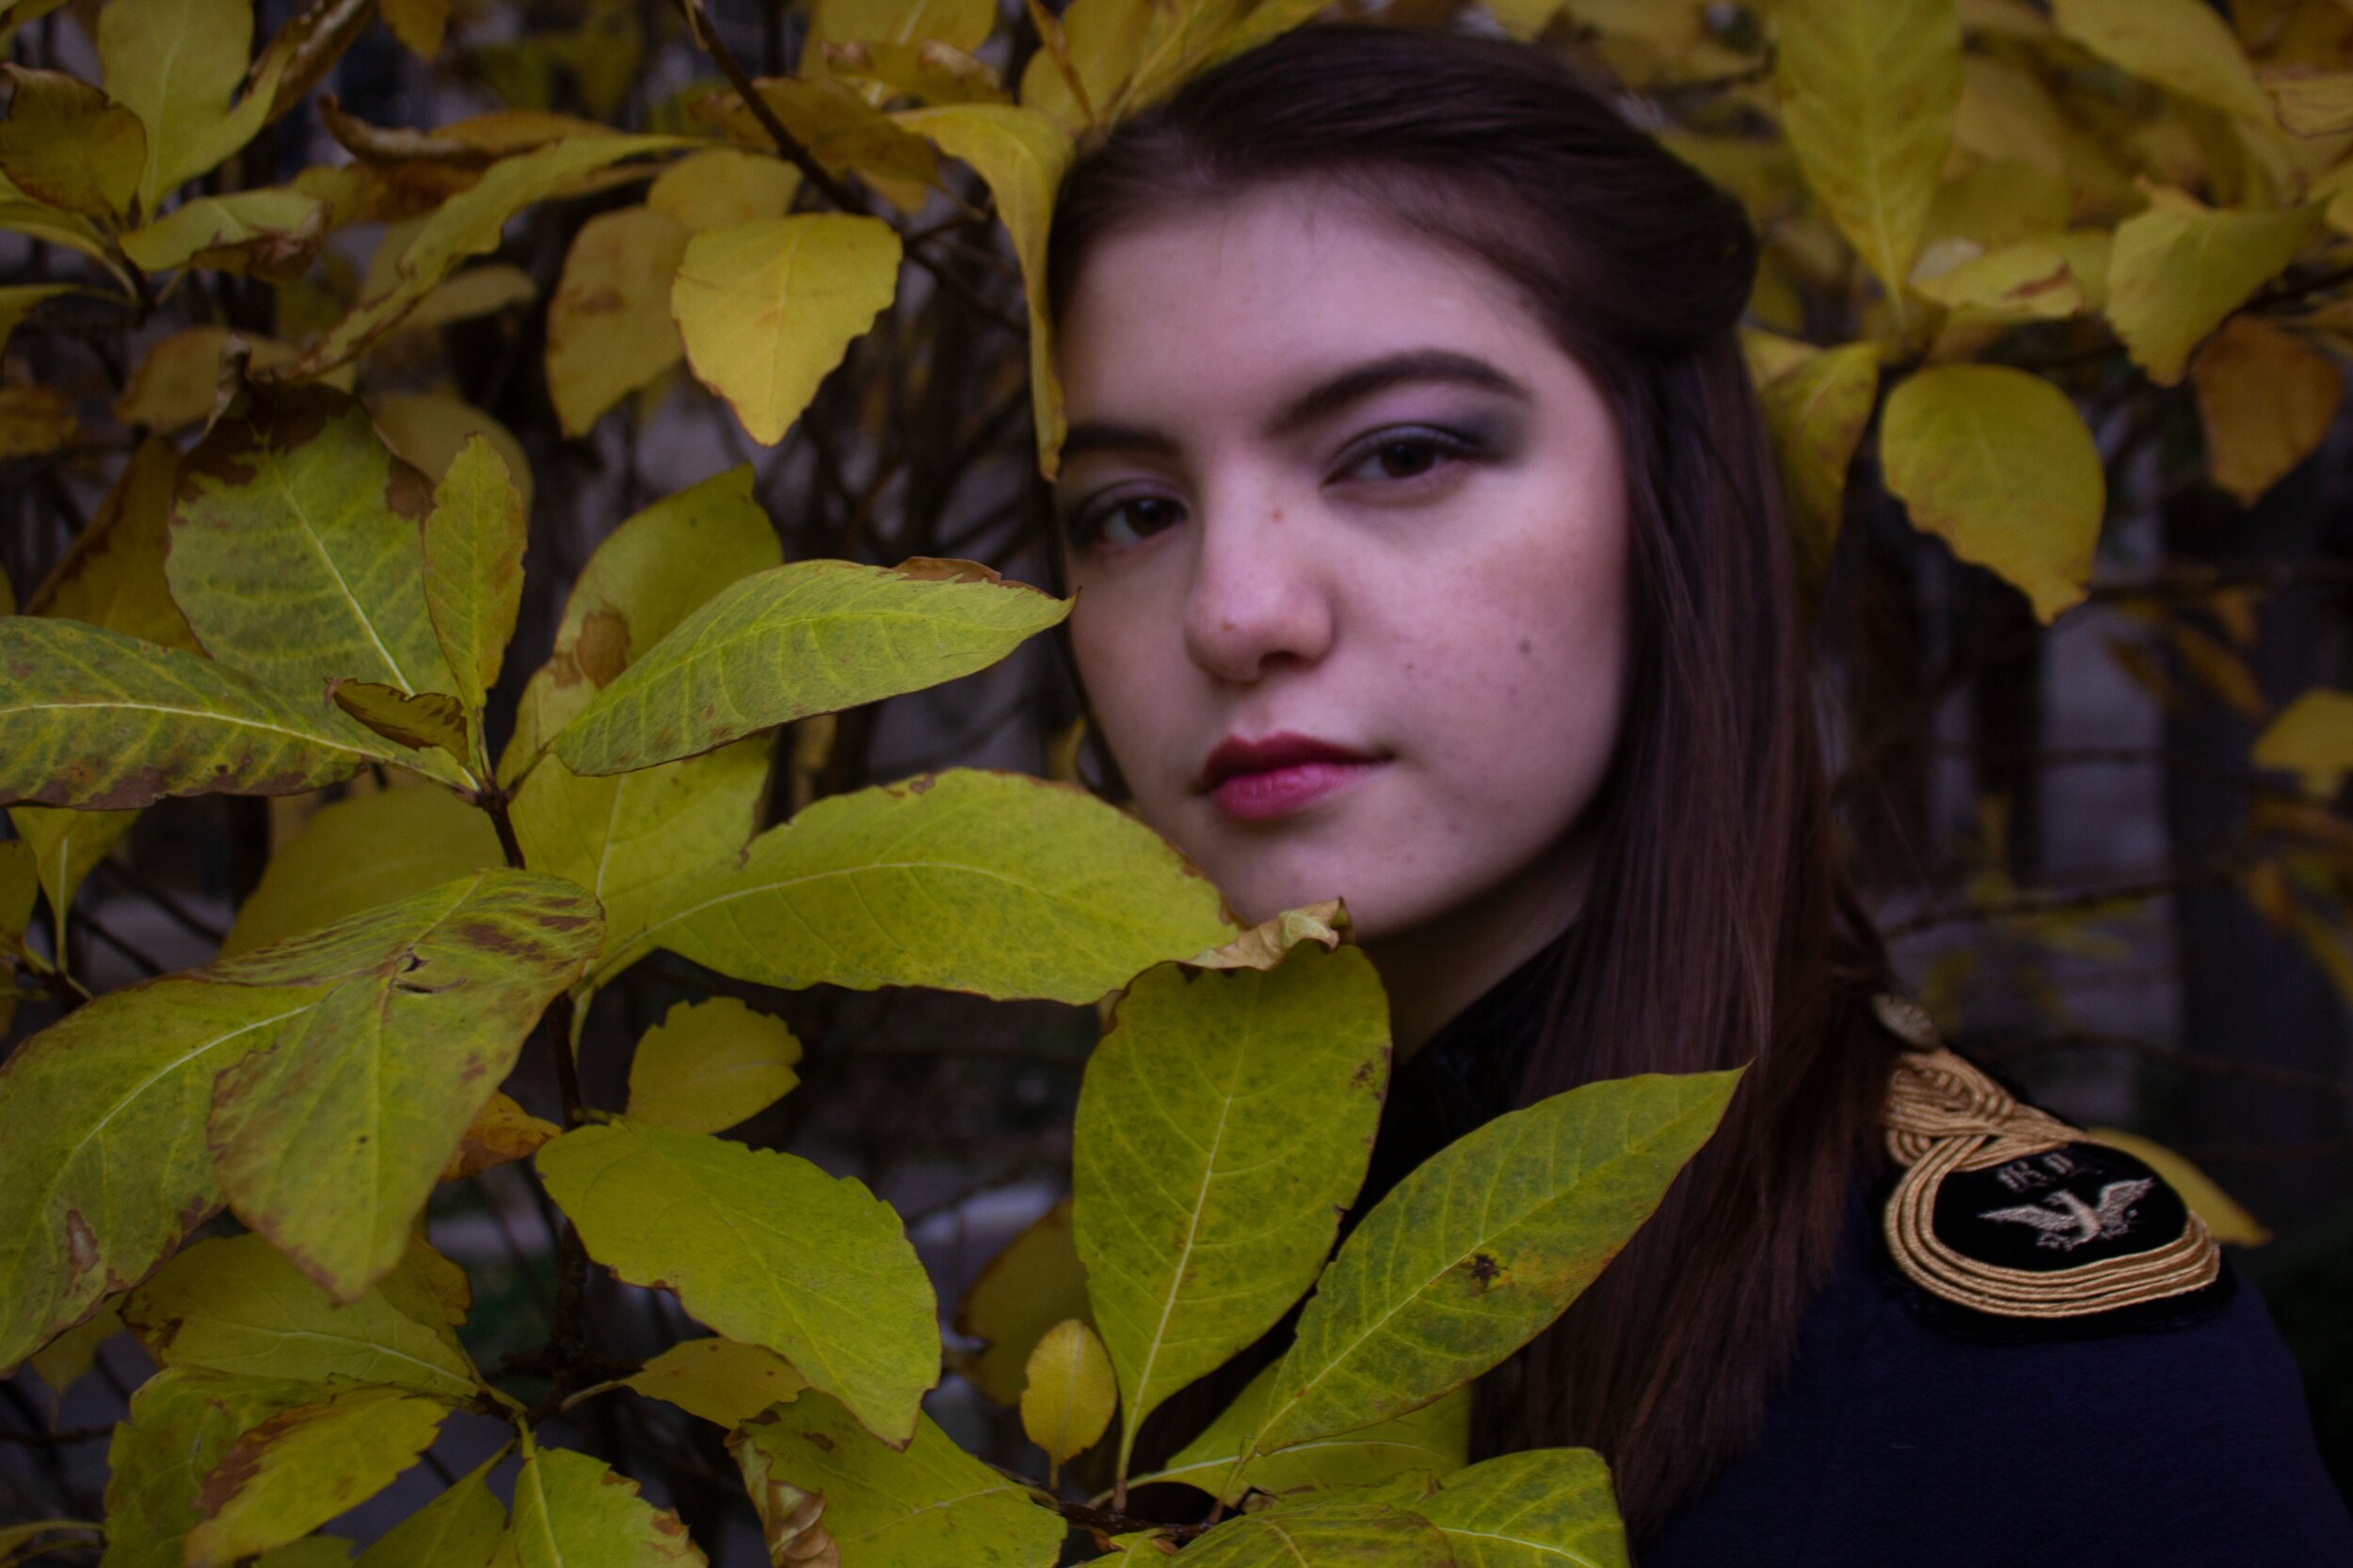
Thanks for reading, and stay warm!
Featured Image via Livia Miller
BONUS - Q&A Session
Stumped about eyeshadow placement? Burned by blending? Have no fear - the Q&A section is here! Each week, I’ll be hosting a Q&A session, where I will answer any makeup-related question. There are no stupid questions! Comment Below~! No name necessary. Looking forward to your questions!